Deck the Halls: A Foolproof Guide to Creating a Show-Stopping Christmas Tree with Bows
Contents
- Deck the Halls: A Foolproof Guide to Creating a Show-Stopping Christmas Tree with Bows
- The Bow Basics: What You’ll Need
- Budget and Time: What to Expect
- Bow Styling: Your Step-by-Step Masterclass
- Color and Texture: The Real Styling Secrets
- Common Mistakes to Avoid
- Final Touches: Making Your Tree Instagram-Ready
- Your Tree, Your Rules
Let’s be real. Your Christmas tree isn’t just a decoration—it’s the centerpiece of holiday magic. And nothing says “I’ve got this” like a perfectly styled tree adorned with stunning bows that’ll make your Instagram followers green with envy.
Why Bows? Because They’re Your Tree’s Secret Weapon
Bows aren’t just ribbons tied into cute shapes. They’re the transformative touch that elevates your tree from “meh” to “magazine-worthy.” Whether you’re a crafting newbie or a holiday decor pro, I’m about to drop some serious styling wisdom.
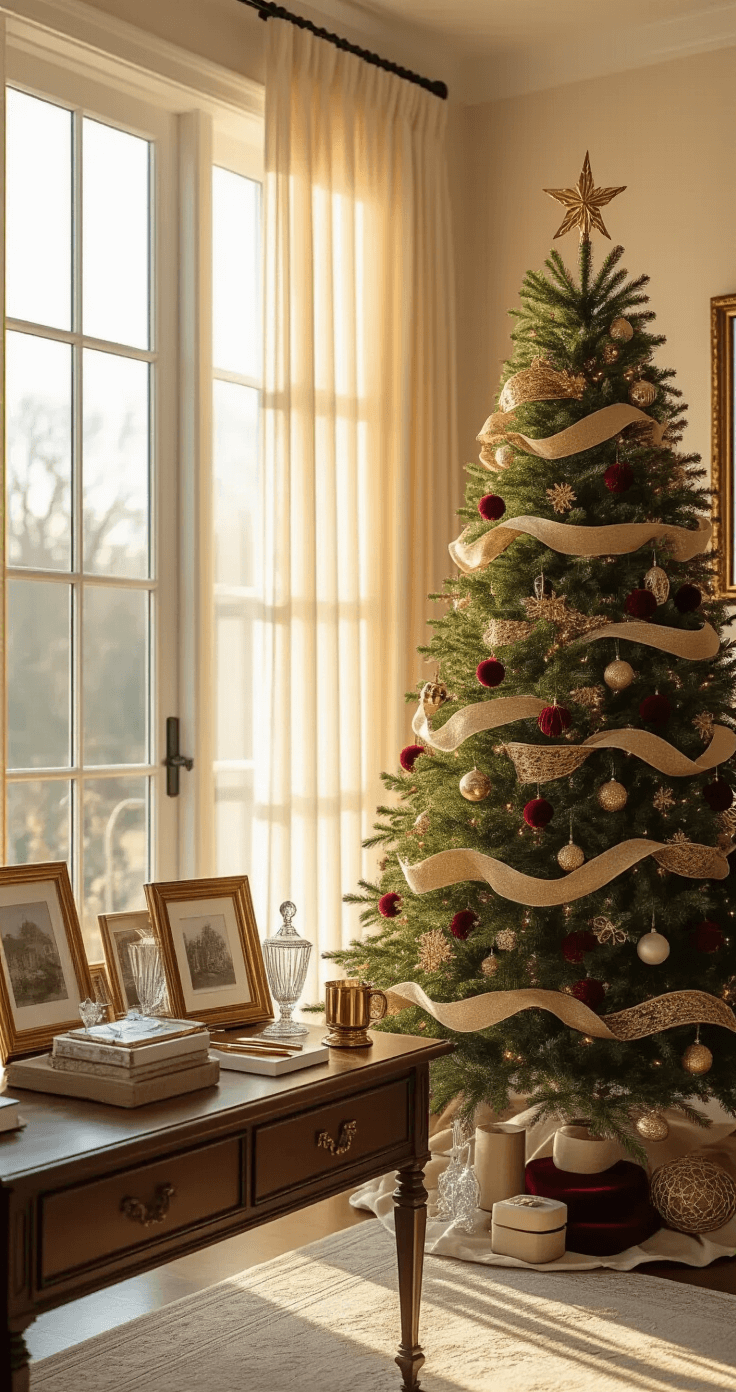
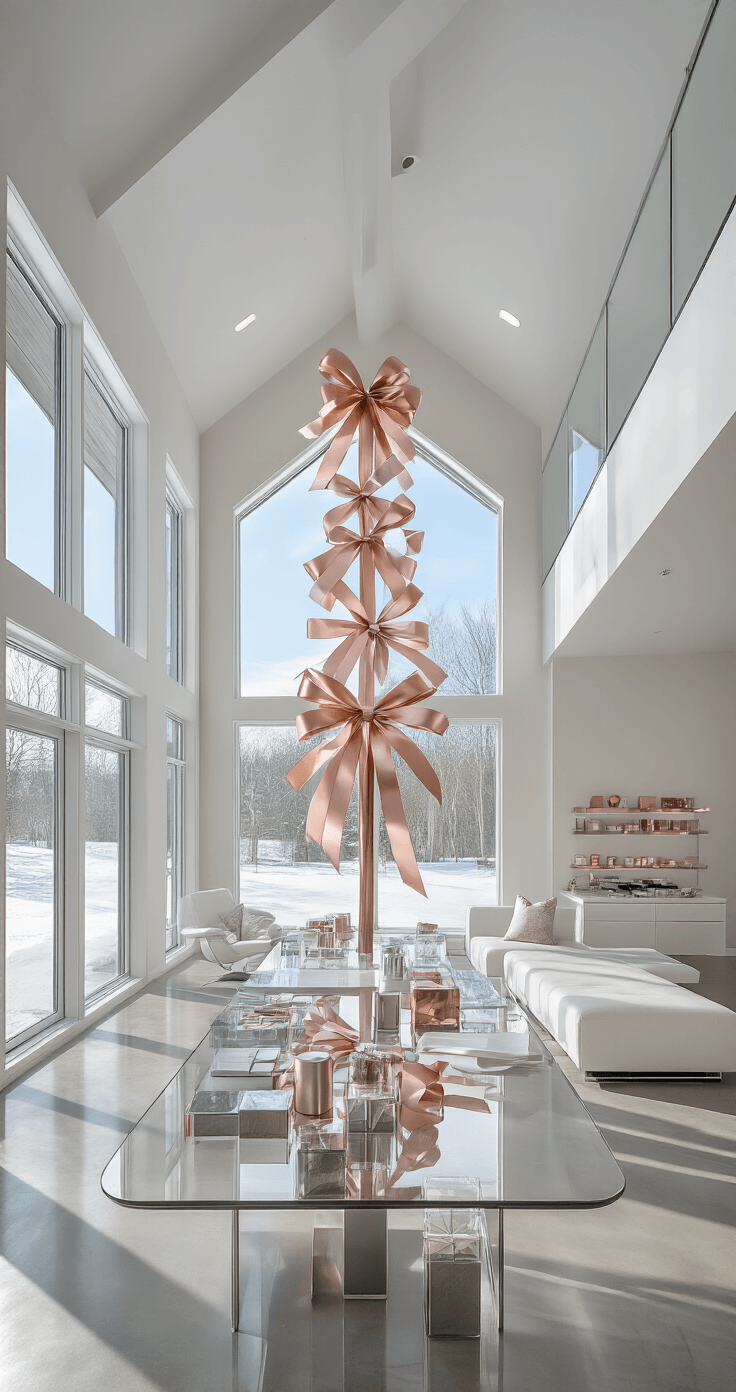
🎨 Steal This Look
- Paint Color: Sherwin-Williams Alabaster SW 7008
- Furniture: velvet-upholstered settee in deep emerald or burgundy positioned near the tree as a photo-ready seating nook
- Lighting: cascading crystal chandelier with dimmable warm LEDs to cast sparkling light across ribbon textures
- Materials: wired velvet ribbon, metallic gold lame, raw silk dupioni, frosted pine garlands, mercury glass ornaments
There’s something deeply satisfying about stepping back from a tree you’ve dressed yourself, those bows catching the light exactly as you imagined—it’s the moment your living room truly feels like home for the holidays.
The Bow Basics: What You’ll Need
Get ready to gather your arsenal:
- Festive ribbon assortment
- Wire-edged ribbons (they hold shape like a champ)
- Floral wire or pipe cleaners
- Sharp scissors
- Hot glue gun
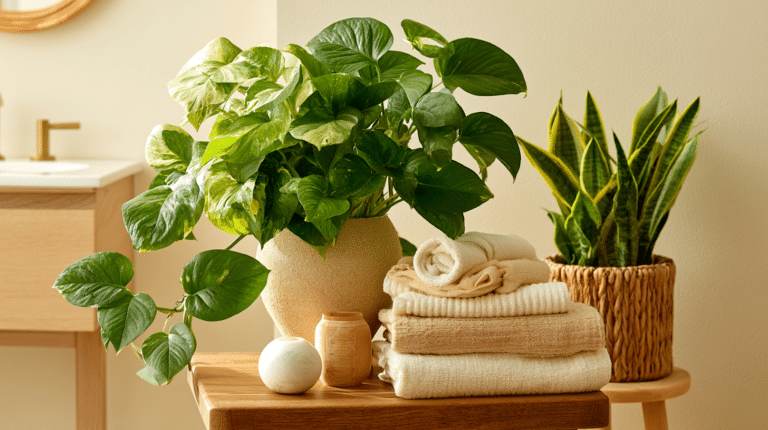
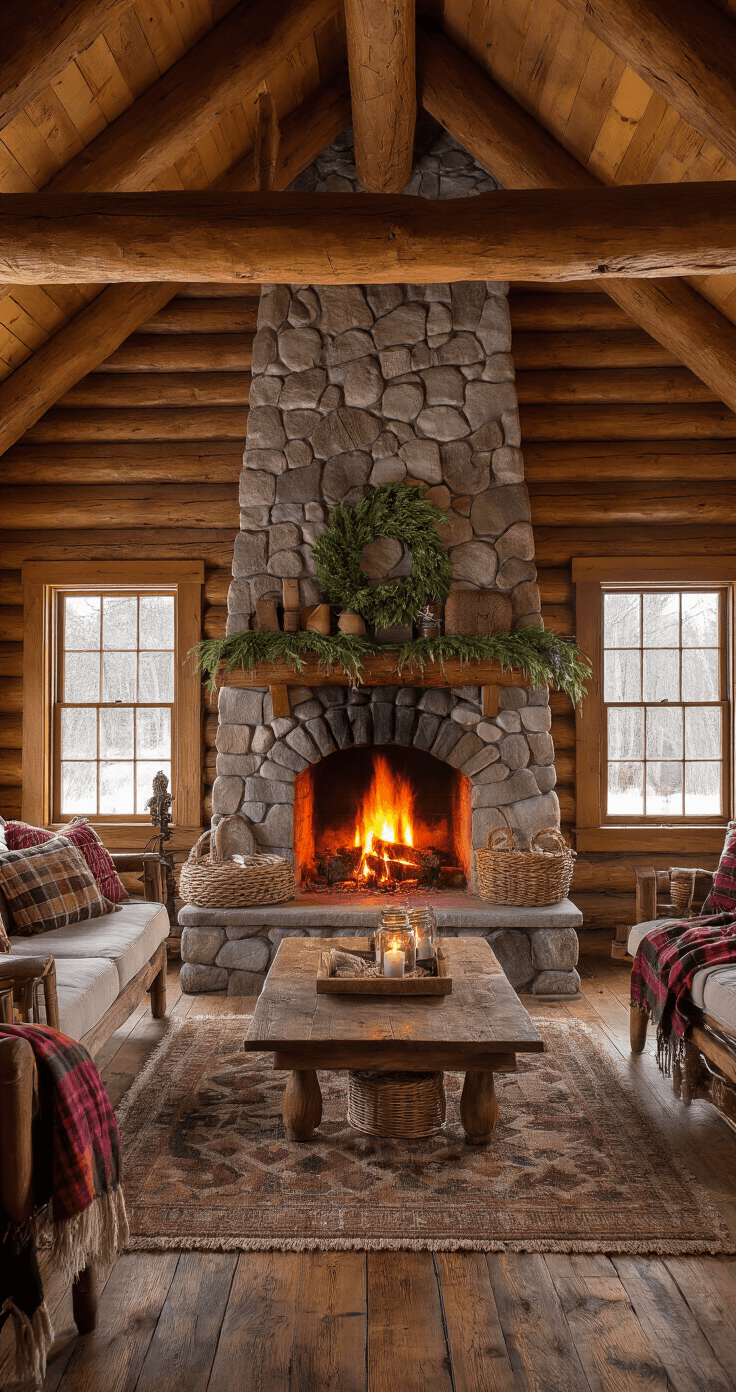
🖼 Steal This Look
- Paint Color: Benjamin Moore White Dove OC-17
- Furniture: A vintage-inspired wooden sideboard or credenza for ribbon storage and gift wrapping station setup
- Lighting: Adjustable-arm brass desk lamp with warm LED bulb for detailed bow-making work
- Materials: Natural linen table runner, reclaimed wood surface, galvanized metal ribbon organizers, velvet and burlap ribbon textures
There’s something deeply satisfying about transforming simple ribbon into sculptural art—this is the hands-on foundation that makes your tree feel genuinely yours, not store-bought perfect.
Budget and Time: What to Expect
Time Investment: 1-3 hours
Budget Range: $10-$50
Difficulty: Beginner to Intermediate
Bow Styling: Your Step-by-Step Masterclass
1. Choose Your Vibe
Bow styles aren’t one-size-fits-all. Your choices:
- Traditional: Velvet ribbons in deep reds and greens
- Farmhouse: Burlap and rustic textures
- Glam: Metallic and glitter ribbons
- Modern: Minimalist colors, clean lines
2. Ribbon Placement Magic
Pro tip: Ribbon isn’t just decoration—it’s architectural magic for your tree.
Weaving Techniques:
- Start from the top, cascading down
- Create loose spirals
- Tuck ribbons deep into branches
- Vary ribbon width for visual interest
3. Bow Creation 101
Simple Bow Tutorial:
- Cut a ribbon length (12-18 inches)
- Make a loop, twist center
- Secure with wire
- Fluff and adjust
Pro Hack: Use a bow-making tool for perfect bows every single time.
★ Steal This Look
- Paint Color: Behr Swiss Coffee 12
- Furniture: slipcovered linen sofa in natural ivory
- Lighting: oversized brass arc floor lamp with linen drum shade
- Materials: velvet ribbon, wired burlap, antique mercury glass, raw linen, aged brass
There’s something almost meditative about the rhythm of bow-making once you find your groove—this is the section where hesitant decorators become confident stylists who actually enjoy the process.
Color and Texture: The Real Styling Secrets
Mix, Don’t Match
- Combine velvet with glitter
- Layer different ribbon textures
- Stick to 2-3 complementary colors
- Create visual depth with varied ribbon widths
Common Mistakes to Avoid
❌ Don’t:
- Overcrowd your tree
- Use limp, non-wired ribbons
- Forget to step back and assess
✅ Do:
- Leave breathing room between decorations
- Use wire-edged ribbons
- Create asymmetrical, organic arrangements
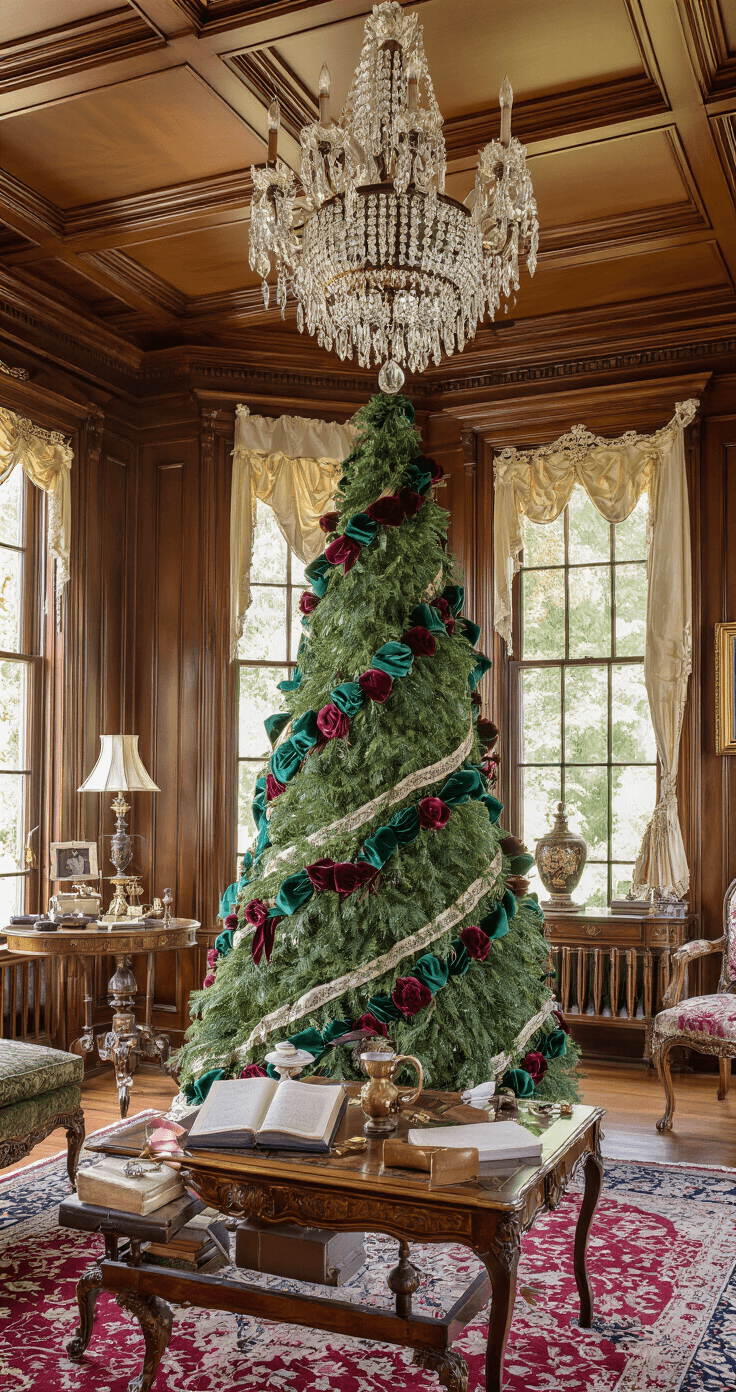
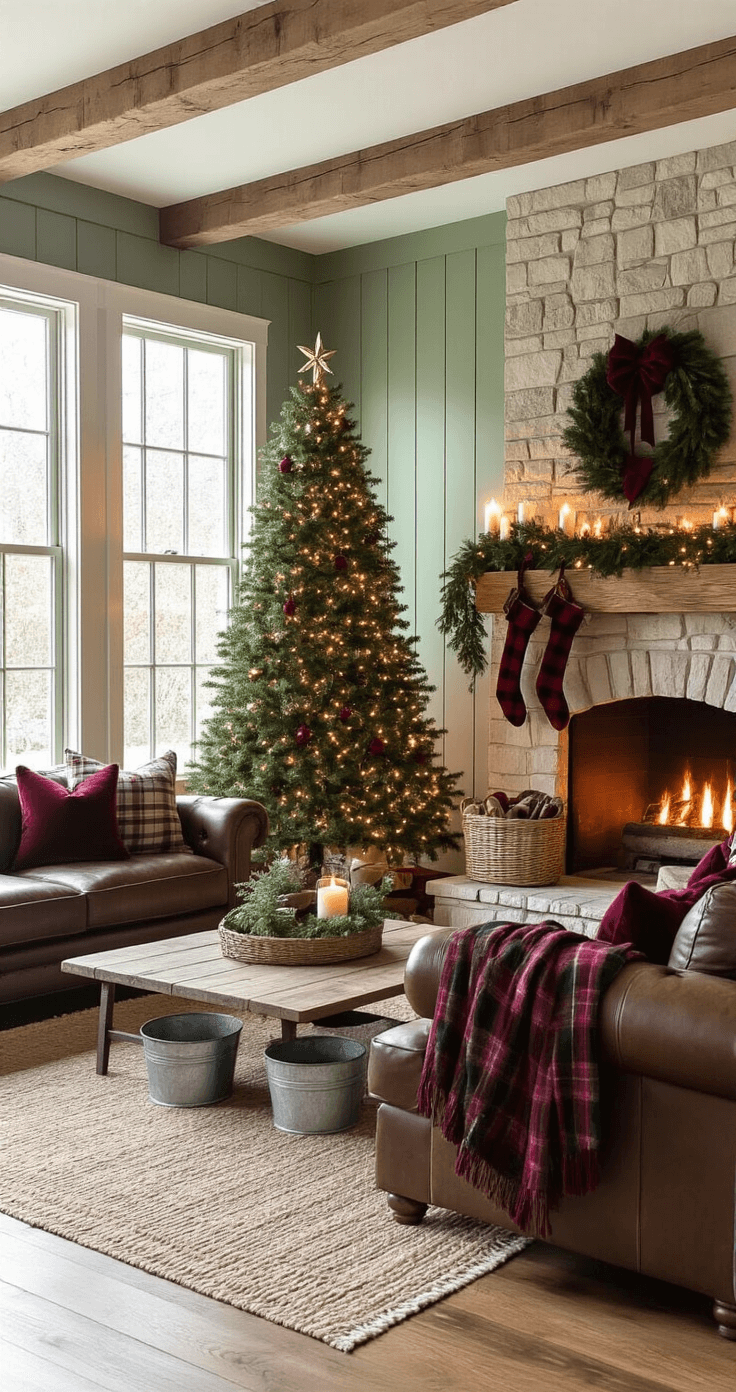
★ Steal This Look
- Paint Color: PPG Silky Sage PPG1126-4
- Furniture: A pair of velvet-upholstered armchairs in forest green flanking a marble-topped console table behind the tree
- Lighting: A dimmable brass arc floor lamp with a linen drum shade positioned to uplight the tree canopy
- Materials: Matte velvet ribbon with wired edges, hand-blown glass ornaments with subtle iridescence, natural wood bead garlands, and aged brass ornament hooks
There’s something deeply satisfying about untangling your ribbon strategy at midnight, coffee in hand, when the house is quiet—this is the meditative work that transforms a decorated tree into a designed one.
Final Touches: Making Your Tree Instagram-Ready
- Strategic bow placement
- Balanced ornament distribution
- Soft, warm lighting
- A killer tree skirt or collar
Bonus: Budget-Friendly Upgrades
- Swap ribbon annually
- Repurpose ribbons for gift wrapping
- Store bows carefully for next year

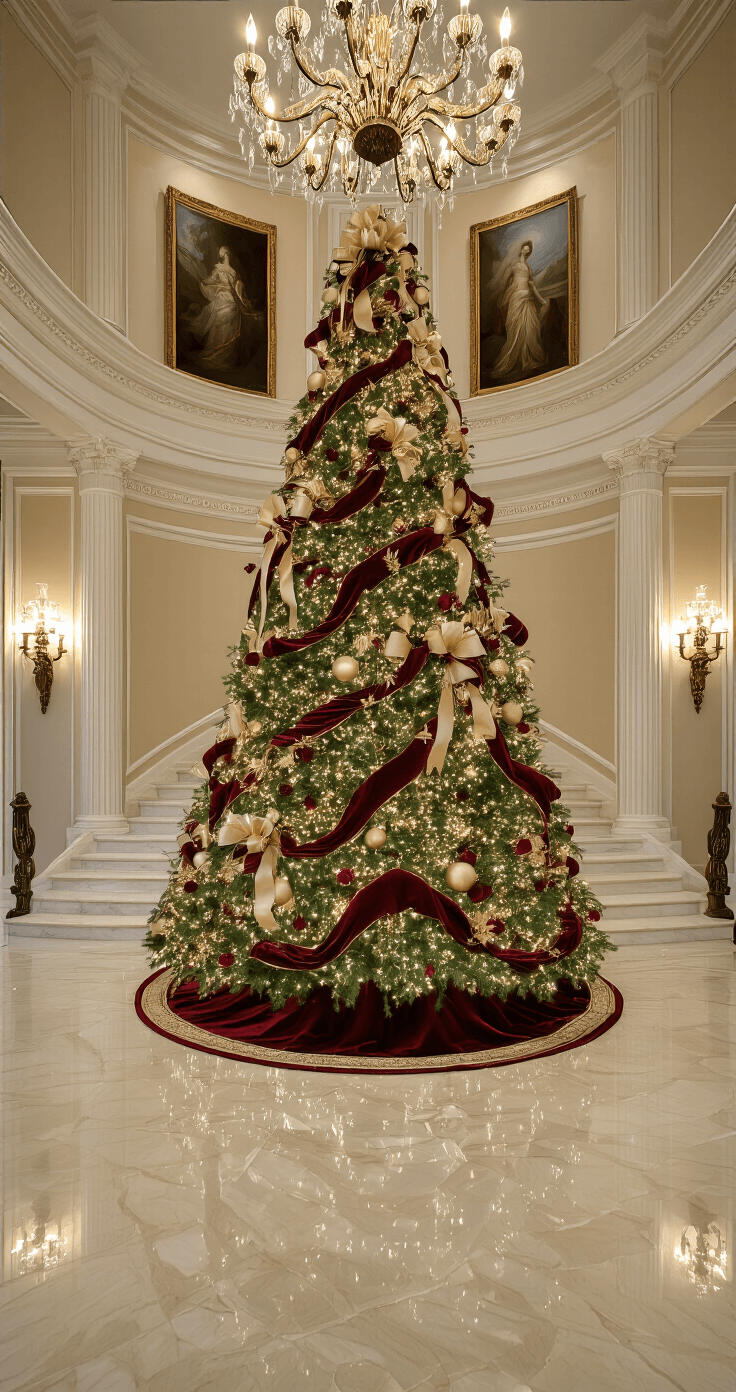
★ Steal This Look
- Paint Color: Dunn-Edwards Whisper DEW340
- Furniture: vintage velvet settee in deep forest green or burgundy positioned adjacent to the tree for cozy photo moments
- Lighting: dimmable brass pharmacy floor lamp with warm 2700K LED bulbs to cast flattering side-light on tree details
- Materials: matte velvet ribbon, wired linen-edged bows, aged brass ornament hooks, chunky knit tree collar, mercury glass accents
There’s something quietly satisfying about stepping back after the last bow is tied and seeing your tree glow in the darkened room—it’s the moment all that careful layering becomes magic, not just decoration.
Your Tree, Your Rules
Remember, there’s no “perfect” Christmas tree. There’s just YOUR tree—a reflection of your style, creativity, and holiday spirit.
Quick Gear Checklist:
Now go forth and create tree magic! 🎄✨
🏠 Steal This Look
- Paint Color: Clare Paint Snow Day CW-01
- Furniture: slipcovered linen sofa in natural oatmeal
- Lighting: brass arc floor lamp with linen drum shade
- Materials: velvet ribbon, wired burlap, hand-tied linen bows, aged brass accents
This is the room where you’ll actually sit on the floor wrestling with ribbon tails at midnight, and that’s exactly the memory that makes the tree feel like yours.
✓ Get The Look
This post may contain affiliate links. Please see my disclosure policy for details.