Christmas Tray Decor Ideas That’ll Make Your Space Feel Like a Holiday Movie Set
Christmas tray decor is one of those things I wish I’d discovered years ago instead of fighting with tangled garlands and toppling mantel arrangements.
You know that panicky feeling when guests text “be there in 20!” and your house looks like the Grinch lives here?
A styled Christmas tray solves that problem faster than you can say “where did I put those ornaments?”

Why I’m Obsessed With Christmas Trays (And You Will Be Too)
I used to think holiday decorating meant going big or going home.
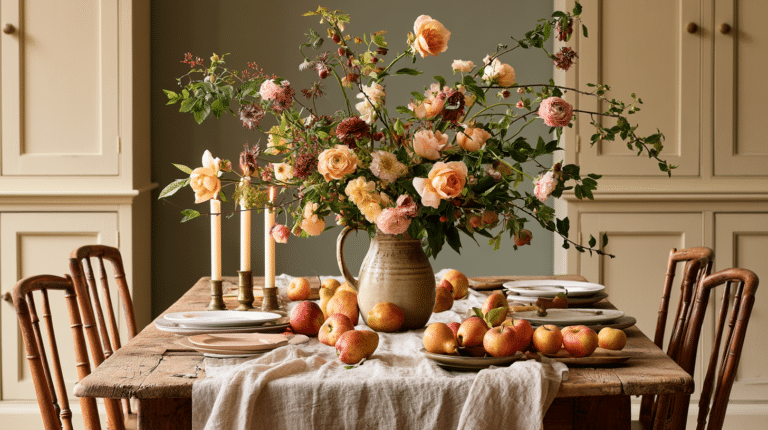
Turns out, the most stunning Christmas displays I’ve created fit on a 16-inch rectangular wooden tray.
Last December, I threw together a tray arrangement in 35 minutes before my in-laws arrived. My mother-in-law actually asked if I’d hired a decorator. I didn’t correct her immediately.
Here’s what makes tray decorating different:
- You can see everything at once while you work (no climbing ladders or crawling behind furniture)
- Mistakes are easy to fix—just move things around until it clicks
- Small spaces look intentional instead of cluttered
- You’ll actually finish instead of abandoning half-done projects
The Secret Formula: Heights, Textures, and Breathing Room
Every stunning Christmas tray follows the same basic principle that professional stylists use.
Vary your heights.
Sounds simple, right? It is, but most people miss it.
I arrange items in three height categories:
Tall elements (back or center):
- Fresh pine branches from my yard
- White ceramic deer figurines
- Tall taper candles in gold holders
- A vintage Santa that’s taller than he is wide
Medium pieces (middle ground):
- Clustered mercury glass votive holders in groups of three
- Small wooden signs with “Joy” or “Noel”
- Glass ornaments (the good ones, not the plastic pack fillers)
- Mini pine cone clusters tied with ribbon
Low fillers (gaps and foreground):
- Scattered jingle bells
- Pine cones lying naturally
- Ornament balls in complementary colors
- Berry picks tucked into empty spaces
The magic happens when these three layers work together. Your eye travels up, across, and down naturally instead of getting stuck in one spot.
My Go-To Color Combinations That Never Fail
I’ve tested dozens of color schemes on trays over the years.
These three combinations photograph beautifully and look expensive even when they’re not:
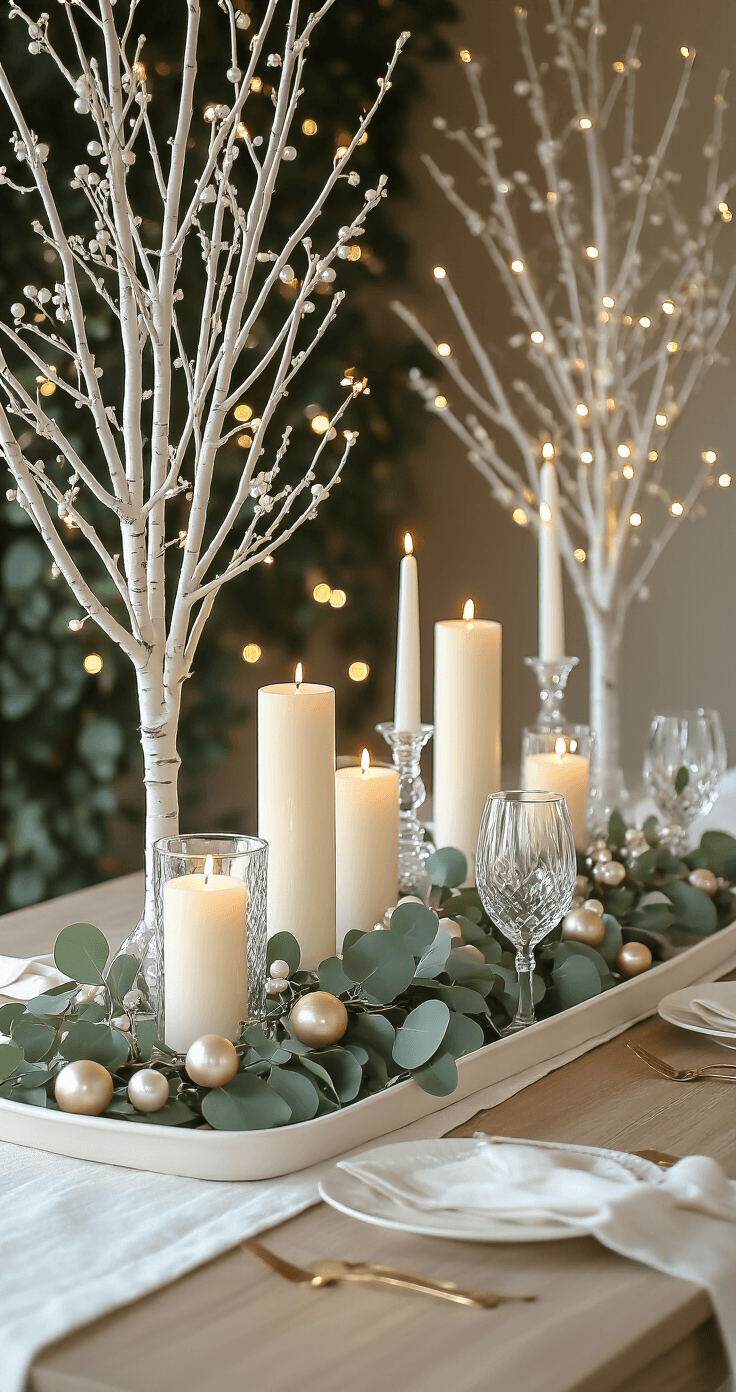
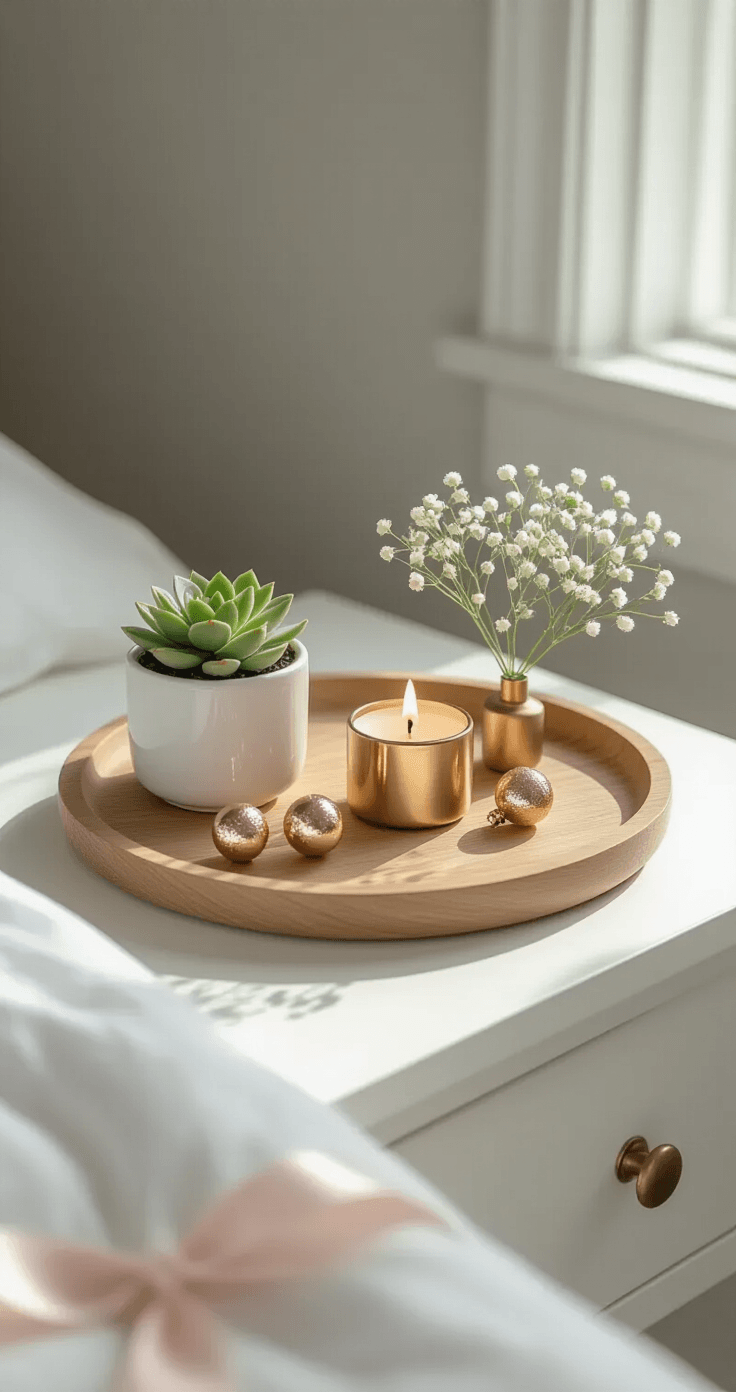
Warm Metallics + Natural Wood:
- Copper spray-painted reindeer
- Gold candle holders
- Warm white candles
- Natural wood finials
- Deep green fresh pine
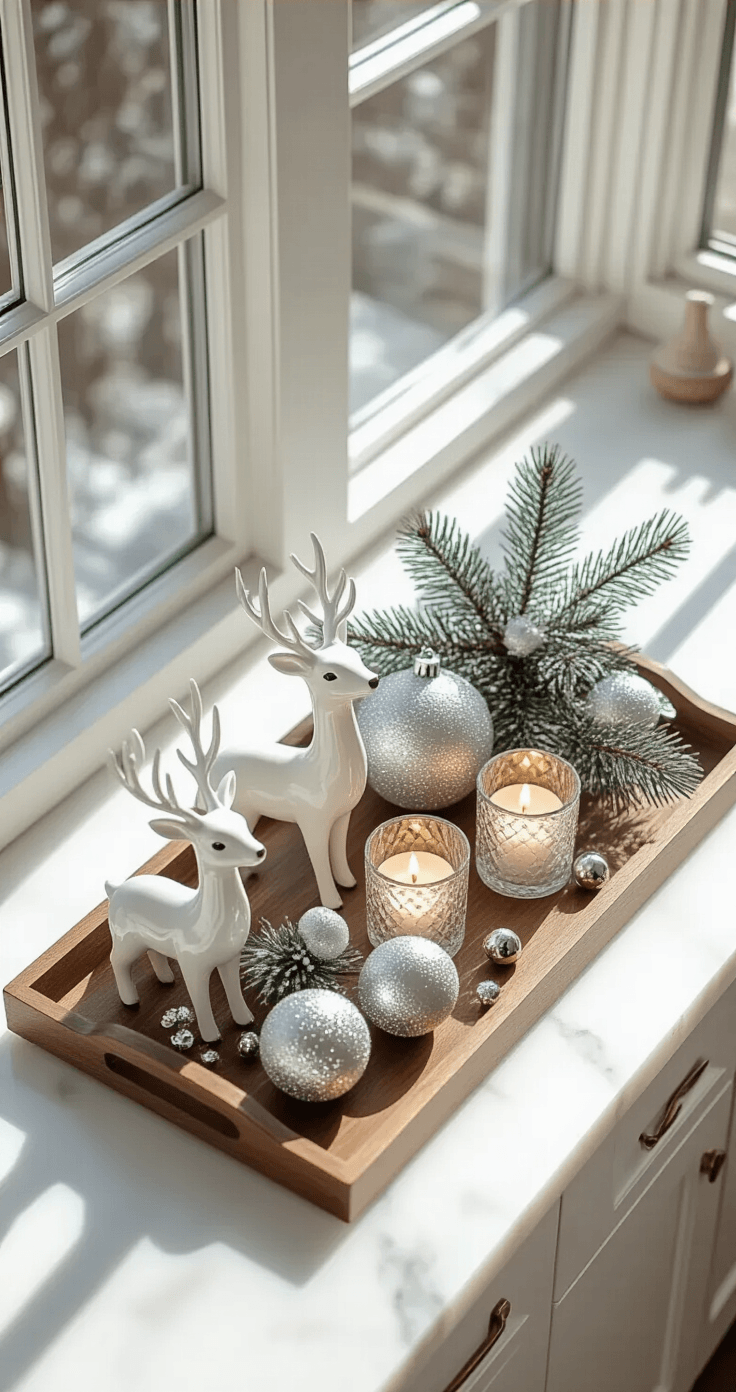
Cool Elegance:
- Silver mercury glass
- White deer or birch trees
- Frosted glass ornaments
- Icy blue accents
- White-washed wood elements
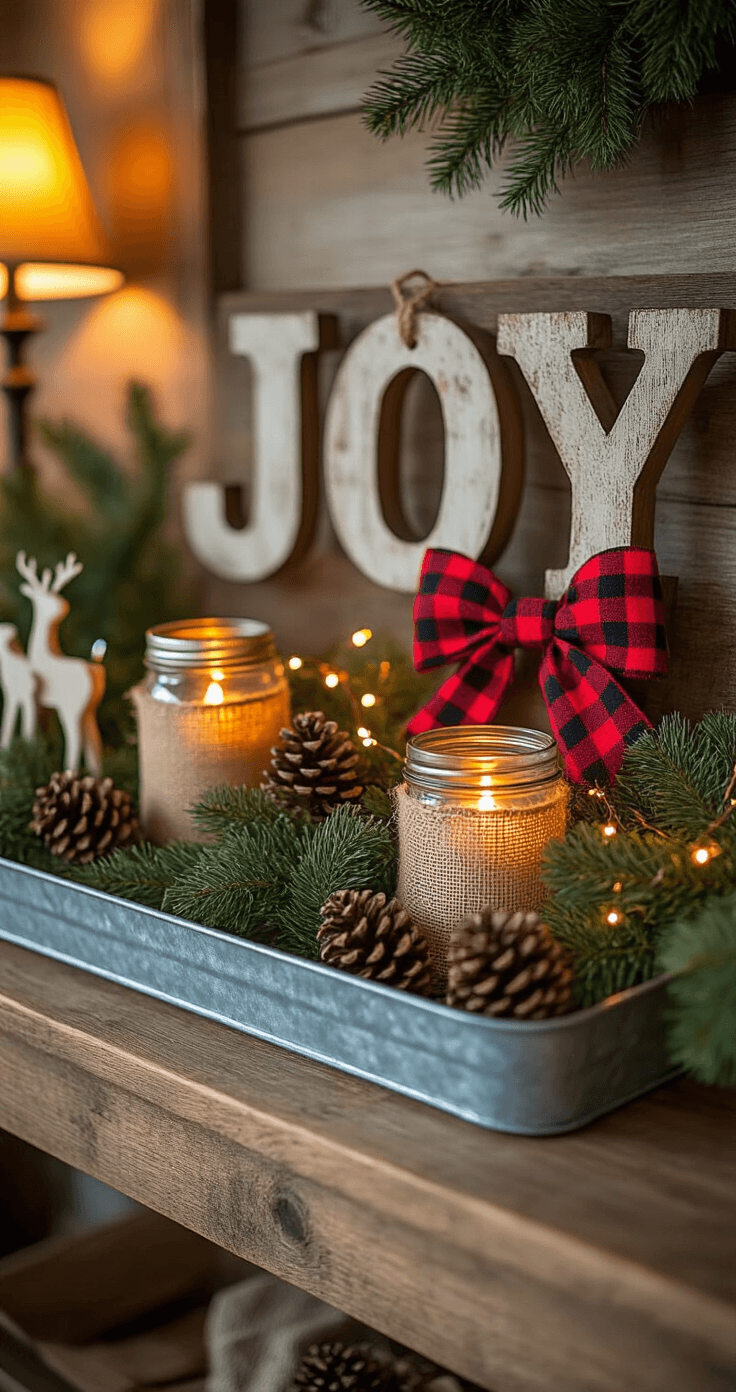
Rustic Farmhouse:
- Galvanized metal accents
- Burlap ribbon
- Red buffalo check
- Natural pine cones
- Weathered wood signs
Pick one palette and stick with it. The moment you add random colors because “I already own this ornament,” the whole thing falls apart.
I learned this the hard way when I tried mixing rose gold with traditional red. It looked like a craft store exploded.
Building Your Tray Step-by-Step (The Way That Actually Works)
Forget starting with a plan. I know that sounds backwards, but hear me out.
Step 1: Start with greenery
Real branches from your yard are free and smell incredible. I grab floral foam from the craft store, soak it, and stick branches in at varying angles.
If you prefer faux, get the expensive stuff. Cheap fake greenery screams “I gave up” from across the room.
Step 2: Add your statement piece
This is your anchor—the thing people notice first.
Mine’s usually a vintage Santa I found at an estate sale for $8. Sometimes it’s a tall white deer. Occasionally it’s just a beautiful gold candle in a statement holder.
Place it slightly off-center. Perfect center looks staged and boring.
Step 3: Cluster your candle holders
I use odd numbers because even numbers create visual tension. Three gold votive holders grouped together, then maybe two more on the opposite side.
Mix heights even within the candle category.
Step 4: Fill with ornaments strategically
This isn’t the time to use every ornament you own. Choose 5-7 ornaments maximum. Match your color scheme religiously.
I tuck some into the greenery and nestle others near the tray edge where they catch light.
Step 5
This post may contain affiliate links. Please see my disclosure policy for details.