Florida Lanai Lighting: How I Turned Our Screened Porch Into a Resort-Style Retreat
Contents
Florida lanai lighting transformed our dark, forgettable screened porch into the most-used room in our home — and honestly, it wasn’t as complicated or expensive as I thought it would be.
If you’ve ever sat outside after sunset in Florida and thought, “This could be so much better,” you’re not alone.
I had the same feeling staring at our pool cage lit by a single, sad overhead bulb that buzzed like a dying insect.
The water looked flat. The plants disappeared. The whole space felt abandoned after 7pm.
Now? Our lanai looks like a boutique hotel every single evening.
Let me walk you through exactly how we did it — from the first string light we hung to the fully layered, app-controlled system we eventually built.
What Most Florida Lanai Lighting Guides Get Wrong
Most advice out there either goes way too cheap (just grab some string lights!) or throws a $10,000 estimate at you without explaining why.
The real answer lives somewhere in the middle — and it starts by understanding what a Florida lanai actually needs from its lighting.
Here’s what makes Florida unique and tricky:
- Humidity is relentless. Even in “dry” season, coastal air chews through cheap fixtures fast.
- UV is brutal. Florida sun degrades plastic housings, cheap adhesives, and non-rated strips within months.
- Pool chemistry is harsh. Chlorine and saltwater vapor aren’t kind to exposed metal contacts.
- You’re living outdoors year-round. Unlike a Northern porch used 4 months a year, your lanai needs to perform every single night.
So before you buy a single fixture, the most important thing I can tell you is this:
Buy fixtures specifically rated for outdoor, humid, or marine environments — not generic indoor LEDs.
I learned this the hard way after my first round of cheap LED strips peeled off the cage framing within one rainy season.
How Much Does a Florida Lanai Lighting Makeover Actually Cost?
Let me break this down honestly, because the range is genuinely wide.
Budget Tier: $100–$500
- DIY string lights, plug-in solar lanterns, basic low-voltage kits
- Beginner-friendly, no electrician needed
- Great starting point, but limited control and longevity
Mid-Range Tier: $800–$3,000
- Modest low-voltage LED perimeter setup with a couple of zones
- Often involves a pro for part of the install
- Gives you real, polished results that last
High-End Tier: $3,000–$10,000+
- Multi-zone perimeter lighting, overhead beams, uplighting, in-pool LEDs, smart controls
- Full professional installation
- Large or complex pool cages can go well above $10,000
For our space — a medium-sized screened lanai with a pool — we landed solidly in the mid-range and stretched toward the high end over two years by adding layers gradually.
That’s actually the approach I’d recommend for most people.
Start with the bones, then add the soul.
The Lighting Layers That Make the Biggest Difference
This is the framework I wish someone had handed me on Day One.
Great lanai lighting isn’t one thing. It’s three distinct layers working together.
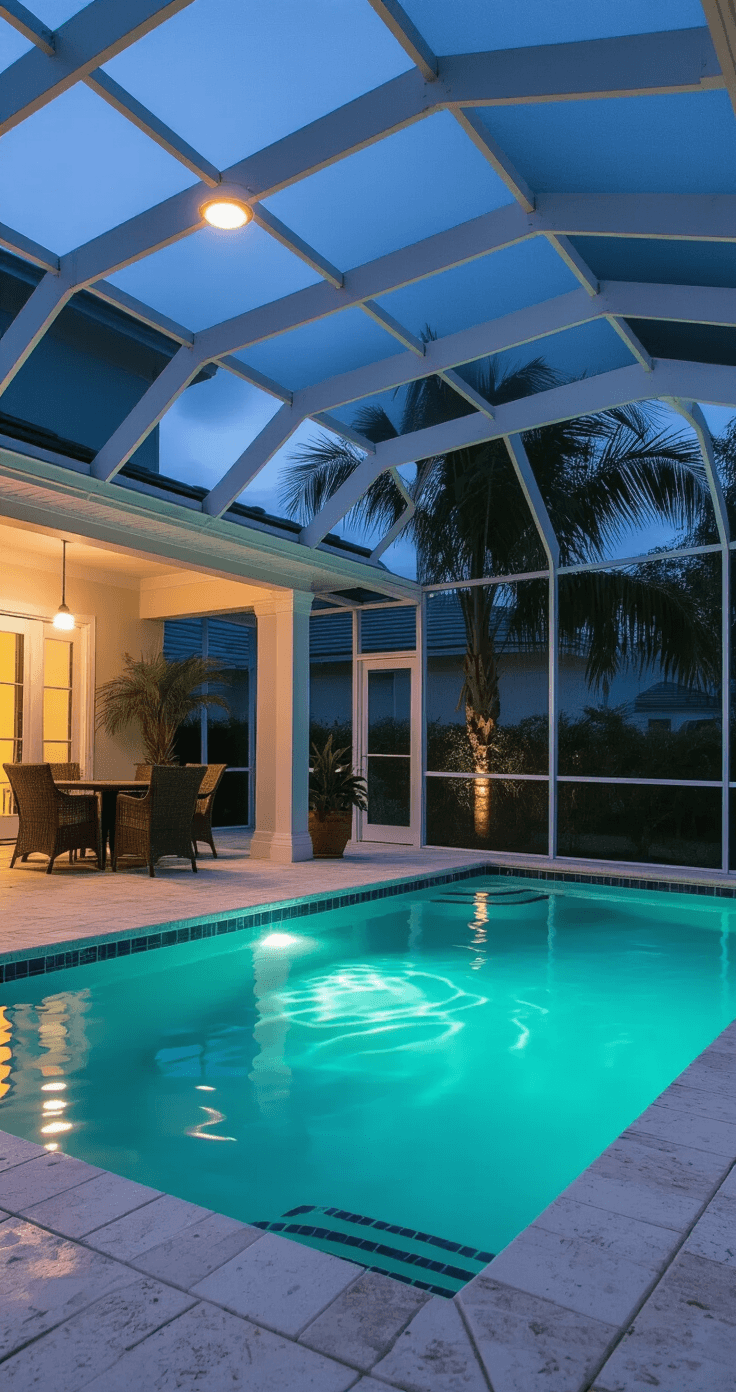
Layer 1: Ambient Lighting (The Foundation)
This is your base glow — the light that makes the whole space visible and usable.
For a Florida lanai, this means:
- Perimeter LED strips running along the cage beams or roofline
- Overhead linear LED fixtures mounted to beams to wash the floor and seating area with even, non-harsh light
- Step and pathway lighting to keep movement around wet surfaces safe
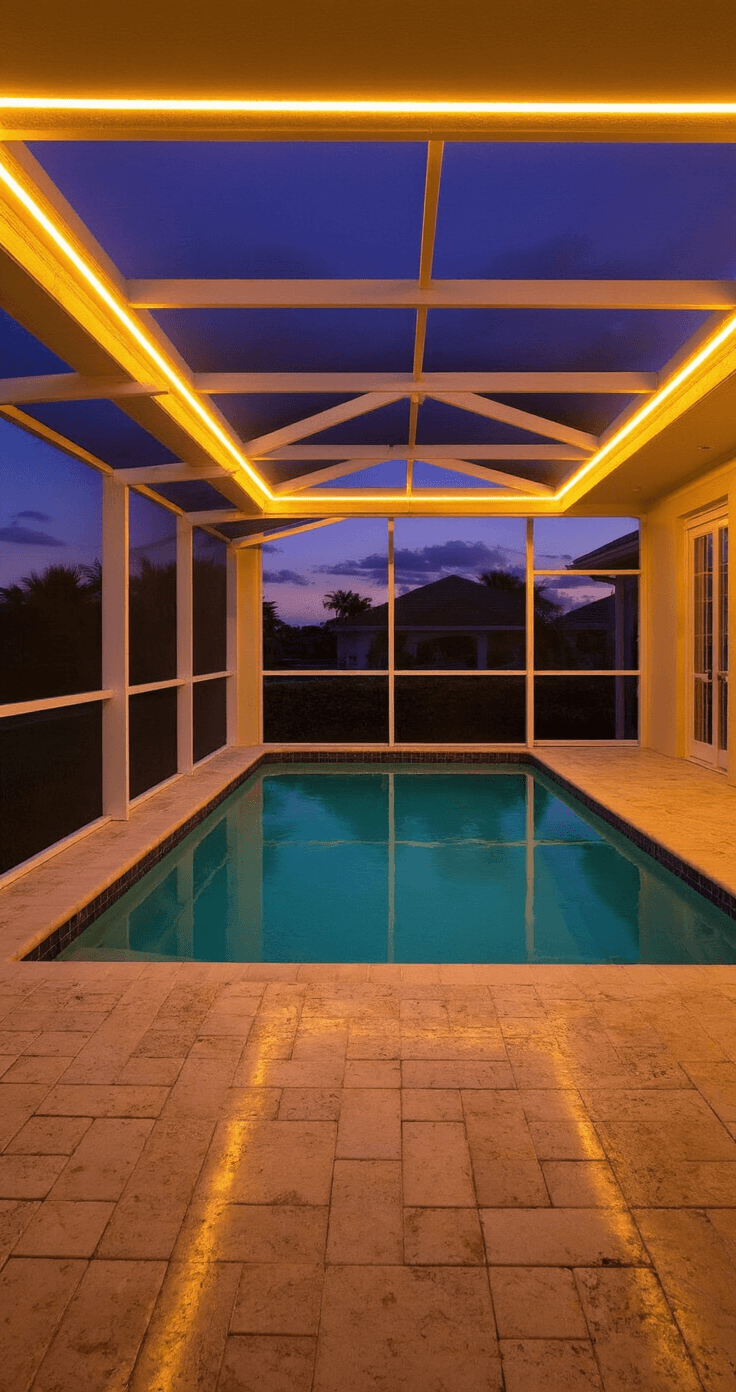
I mounted waterproof LED light strips along our main perimeter beam first.
That single change made the space feel intentional and finished before I added anything else.
Pro tip: Use warm white LEDs in the 2700–3000K range for your ambient layer. It reads as cozy, flattering, and resort-like rather than clinical or sporty.
Layer 2: Accent Lighting (The Drama)
This is where things start looking genuinely beautiful.
Accent lighting highlights your focal points — the pool, plants, architectural features — and gives the space depth.
For our lanai, accent lighting includes:
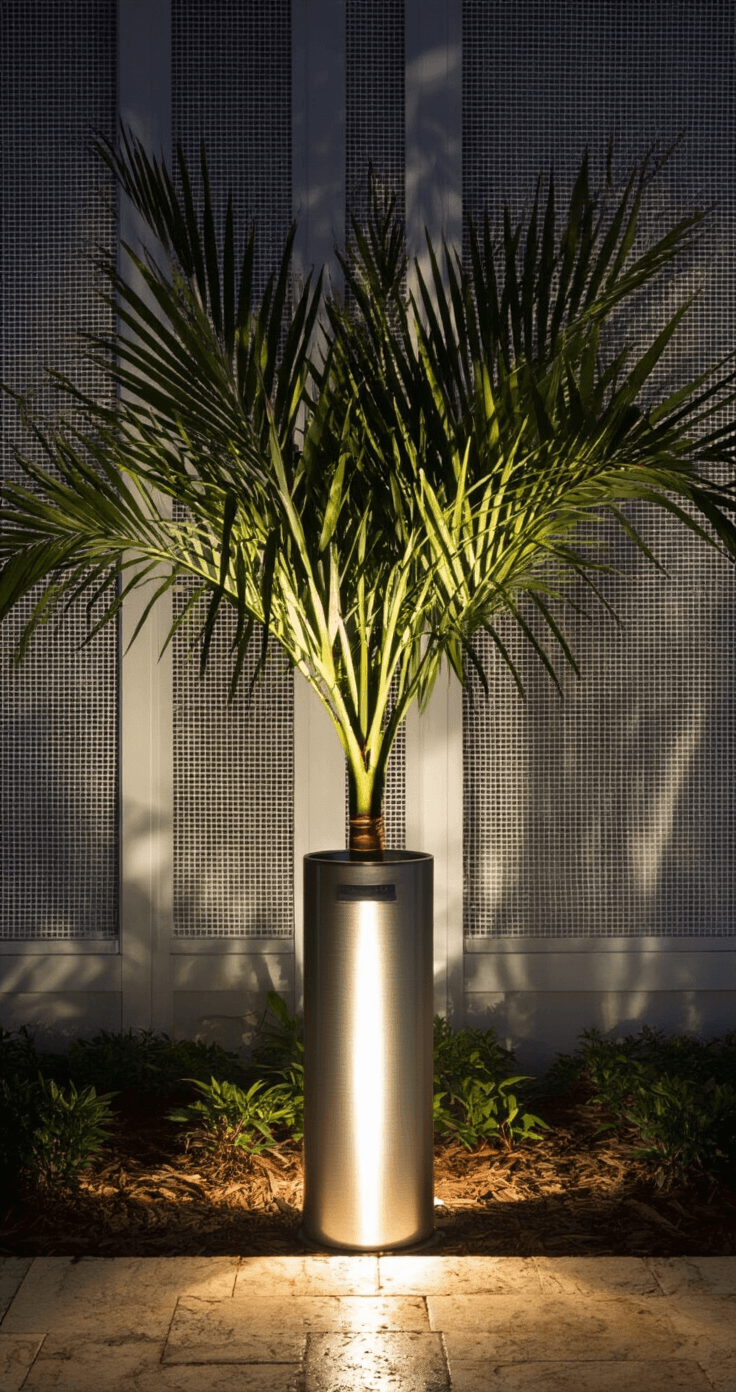
- Uplights at the base of cage posts pointing upward for a dramatic vertical wash
- Plant uplighting aimed at our palms and tropical plants (the shadows this creates are stunning)
- In-pool LED lights that make the water glow in any color you choose
- Sconce strips or up/down fixtures on vertical posts at eye level
The in-pool lighting was genuinely a game-changer.
Before it, the pool was a dark hole in the ground after sunset. After? It became the room’s centerpiece.
If you have a pool, this is the upgrade I’d prioritize above almost everything else.
Pick up a set of outdoor uplight fixtures for your posts and plants — they’re far more affordable than you’d expect and the visual payoff is enormous.

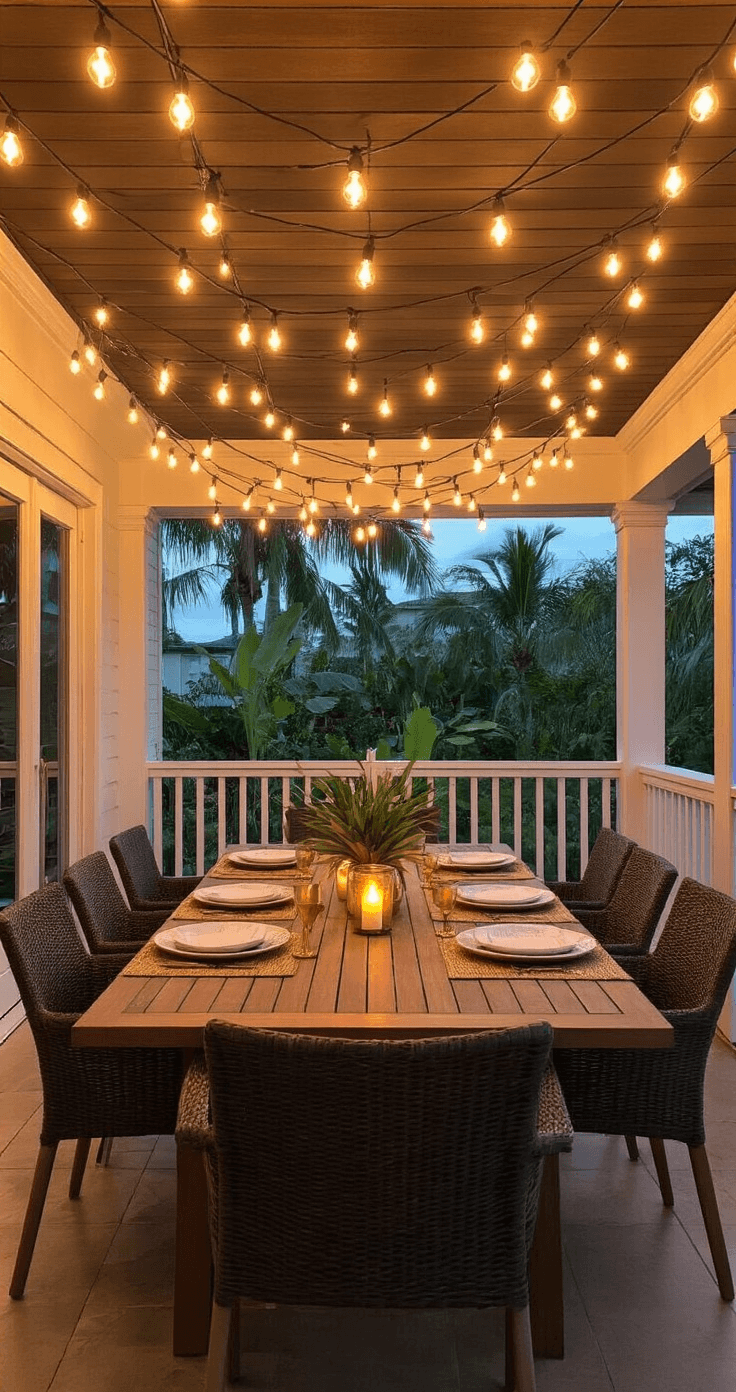
Layer 3: Decorative Lighting (The Personality)
This is the finishing layer — the one that makes people say “Oh wow” when they step outside.
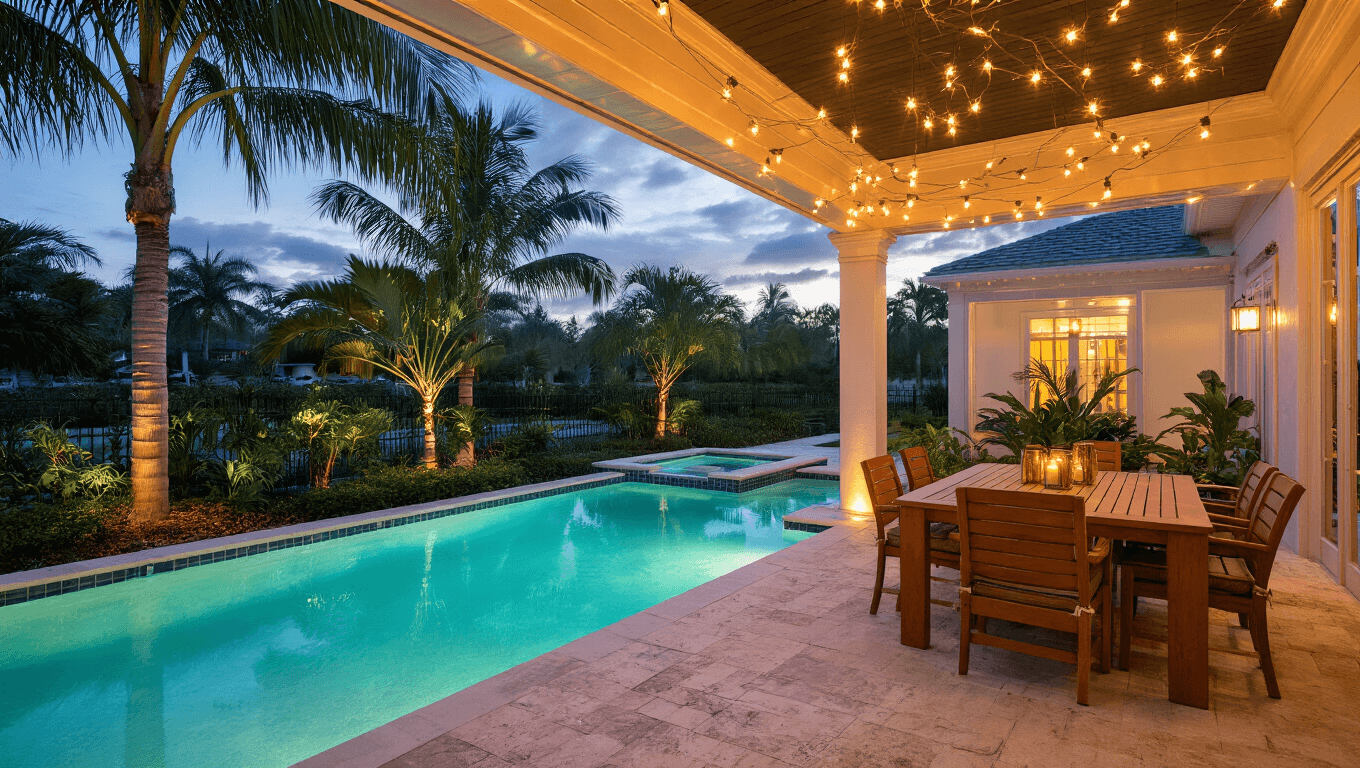
Decorative lighting includes:
- Overhead string lights
This post may contain affiliate links. Please see my disclosure policy for details.