DIY Paper Christmas Tree: A Festive Home Decor Magic
Contents
Creating a paper Christmas tree is like bringing holiday magic right into your living room—without breaking the bank or requiring professional crafting skills.
Why Paper Christmas Trees Are Your New Holiday Hero
Let’s cut to the chase. You want a holiday decoration that’s:
- Budget-friendly ✅
- Super customizable ✅
- Instagram-worthy ✅
- Easy to make ✅
I’ve created dozens of these little paper wonders, and trust me, they’re a game-changer for holiday decorating.
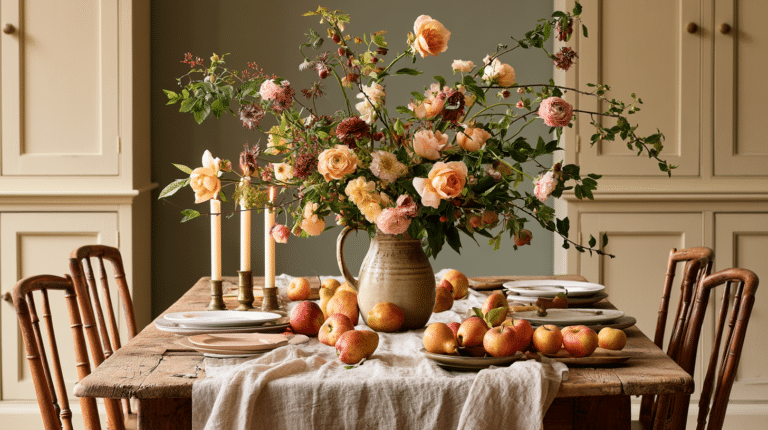
💡 Steal This Look
- Paint Color: Sherwin-Williams Agreeable Gray SW 7029
- Furniture: Low-profile linen sectional in oatmeal with tapered walnut legs, paired with a round marble-top coffee table with brass base
- Lighting: Sputnik chandelier in aged brass with 12 arms, dimmable LED
- Materials: Kraft paper in varying weights, matte gold cardstock, raw birch wood rounds, wool felt garlands, seeded eucalyptus sprigs
This is the room where you’ll actually gather—where the paper tree becomes a conversation piece that guests touch and ask about, not just another decoration they walk past. The living room demands something that feels intentional but not precious.
Gathering Your Paper Christmas Tree Arsenal
Must-Have Supplies
- Cardstock paper (120-175 gsm)
- Sharp scissors
- Glue stick
- Ruler
- Optional: Craft cutting machine
Pro Tip Hack
Metallic papers and crepe paper can transform a basic tree into a showstopper. Mix textures for maximum visual interest!
Step-by-Step Magical Transformation
1. Choose Your Style
- Minimalist white
- Boho natural tones
- Glittery festive
- Vintage retro vibes
2. Basic Folding Technique
- Select your paper
- Measure and mark fold lines
- Create precise accordion folds
- Secure edges with glue
- Open into 3D magic!

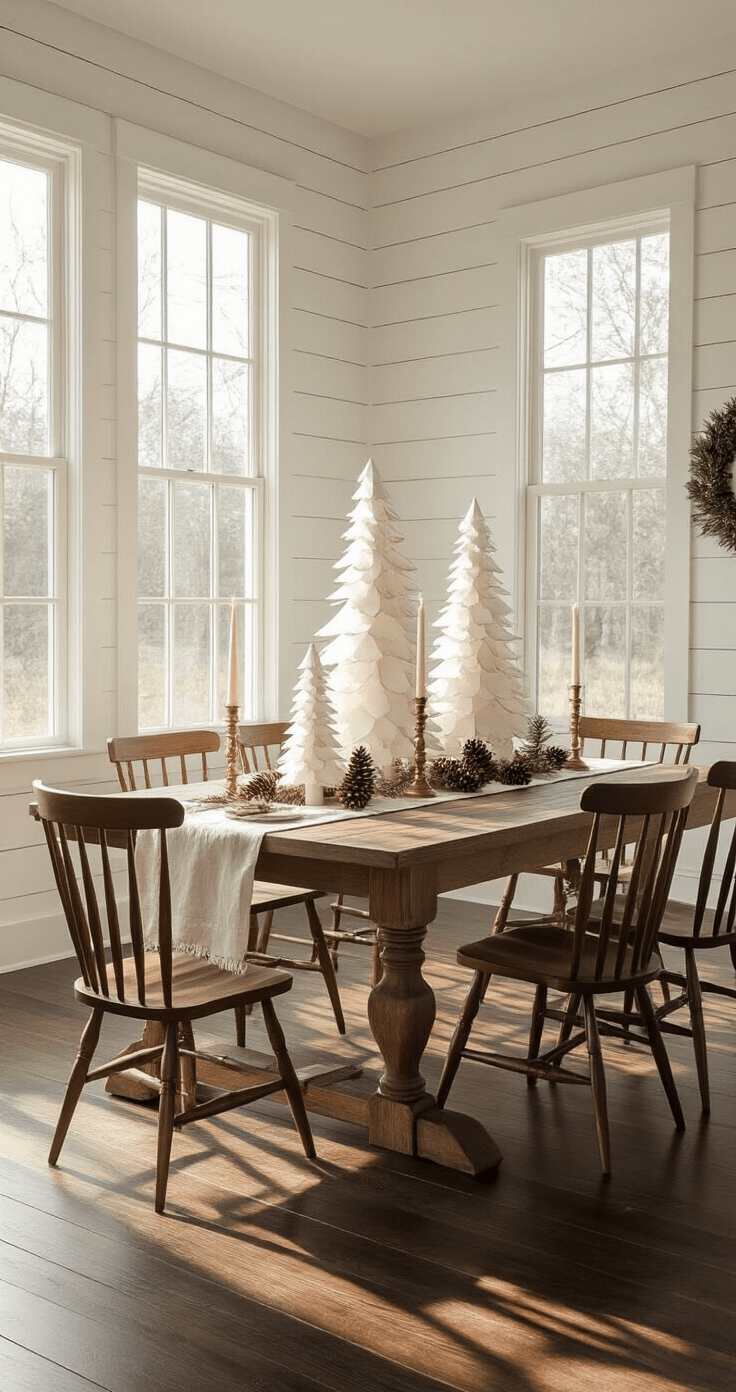
💡 Steal This Look
- Paint Color: use Farrow & Ball brand. Match a soft cream paper tone. Format: Farrow & Ball Pointing 2003
- Furniture: low wooden coffee table with natural grain for displaying finished trees
- Lighting: warm white fairy lights with battery pack for wrapping around paper trees
- Materials: kraft paper, metallic cardstock, vintage sheet music, baker’s twine, wooden beads
There’s something deeply satisfying about transforming flat paper into dimensional sculpture, and this craft brings that quiet wonder into everyday spaces where you’ll actually notice it.
🎁 Get The Look
Styling Like a Pro
Placement Ideas
- Dining table centerpiece
- Mantel decoration
- Office desk accent
- Entryway welcome display
Accessorize Your Tree
- Tiny fairy lights
- Glitter accents
- Mini ornaments
- Ribbon details
Troubleshooting Common Challenges
Rookie Mistakes to Avoid
- Uneven folding = wonky tree
- Weak glue = collapsing structure
- Overcomplicated design = frustration
Quick Fixes
- Use binder clips while glue dries
- Practice first on scrap paper
- Watch online tutorials for tricky steps
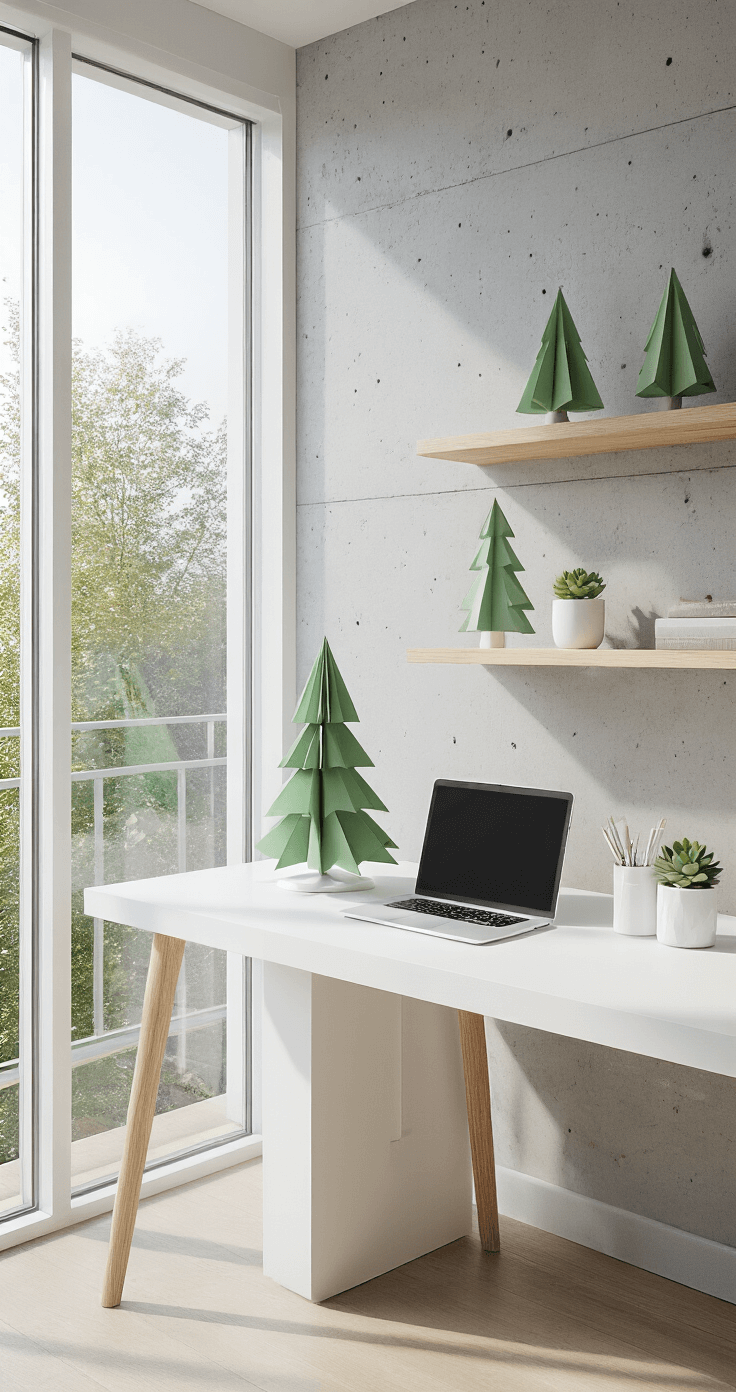
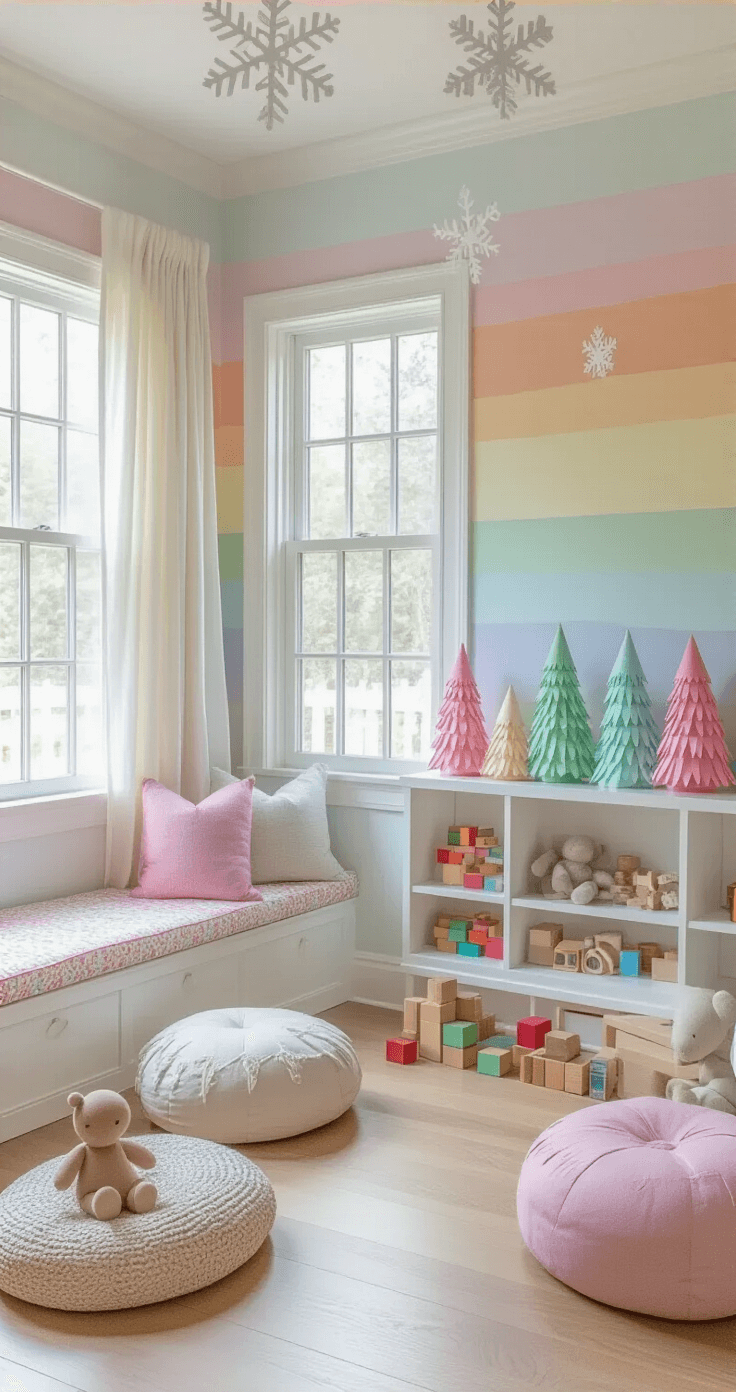
🏠 Steal This Look
- Paint Color: use Valspar brand. Match the ACTUAL wall color in the image. Format: Valspar Swiss Coffee 7002-16
- Furniture: compact folding craft table with built-in storage for paper supplies
- Lighting: adjustable LED desk lamp with daylight color temperature for precise folding visibility
- Materials: matte cardstock in varying weights, bone folder for crisp creases, archival-quality glue sticks
Every paper crafter has watched a nearly-finished tree collapse at 11 PM—build in buffer time and keep backup sheets, because perfection comes from iteration, not pressure.
Your Style, Your Rules
Remember, there’s no “perfect” paper Christmas tree. Your creation should reflect YOUR personality and home vibe.
Trending Styles
- Scandinavian minimalist
- Farmhouse rustic
- Modern geometric
- Whimsical kid-friendly
Time & Cost Breakdown
- Setup Time: 15-45 minutes
- Cost: $2-$20
- Skill Level: Beginner to Intermediate
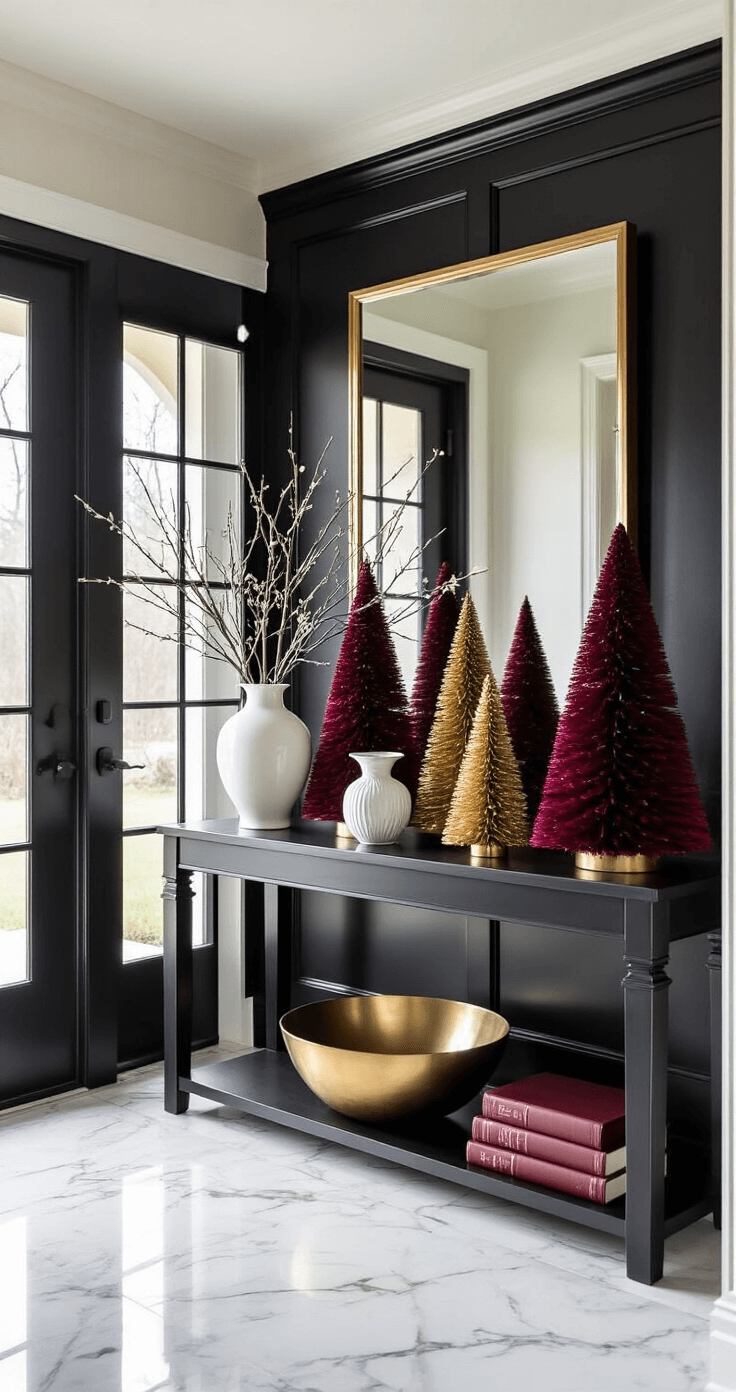
🌟 Steal This Look
- Paint Color: use Dunn-Edwards brand. Match the ACTUAL wall color in the image. Format: Dunn-Edwards ColorName CODE
- Furniture: specific furniture for this room
- Lighting: specific lighting fixture
- Materials: key textures and materials
This is the rare holiday project that won’t dominate your weekend or drain your wallet—perfect for busy parents who still want that handmade magic without the Pinterest-fail stress.
Final Thoughts
A paper Christmas tree isn’t just a decoration. It’s a memory-making, creativity-sparking, joy-spreading craft that transforms your space.
Sharing Is Caring
Snap a pic of your creation and share with #PaperChristmasTree. Show the world your crafting magic! 🎄✨
🎨 Steal This Look
- Paint Color: use Clare Paint brand. Match a warm, inviting craft room atmosphere. Format: Clare Paint Warm Beige 01
- Furniture: a sturdy farmhouse-style craft table with built-in storage cubbies for paper supplies
- Lighting: a daylight-balanced LED swing-arm desk lamp with adjustable brightness
- Materials: kraft paper, metallic cardstock, recycled book pages, baker’s twine, and wooden bead garlands
This is the space where holiday magic actually happens—where flour-dusted hands and glitter-covered tables become the backdrop for traditions your family will talk about for years.
This post may contain affiliate links. Please see my disclosure policy for details.