
Red and Gold Christmas Decor: My Complete Guide to Creating Timeless Holiday Magic
Contents
Red and gold Christmas decor transforms any space into a warm, sophisticated holiday retreat that never goes out of style.
I’ve spent years perfecting this classic combination, and honestly, it’s the one theme I keep coming back to no matter what trendy palettes pop up each season.
There’s something about the richness of deep crimson paired with shimmering metallics that just screams “Christmas done right.”

Why Red and Gold Never Gets Old
Look, I’ll be straight with you.
Every December, design magazines push some new “it” color scheme—sage and blush, navy and copper, whatever’s trending on Pinterest that year.
But red and gold?
It’s the little black dress of Christmas decorating.
Always elegant, always appropriate, always stunning.
The beauty lies in its versatility. Traditional homes love it. Modern spaces embrace it. Rustic farmhouses own it. Glam maximalists worship it.
This palette works because red brings that emotional punch of nostalgia and warmth we crave during the holidays, while gold elevates everything with a touch of luxury and magic.
Think candlelight flickering off metallic surfaces, the way gold ornaments catch the tree lights, that feeling of abundance and celebration.
Getting Started: What You Actually Need
The Reality Check
Before you panic-buy every red and gold item at HomeGoods, let’s talk numbers.
You can absolutely pull this off on different budgets:
- Budget-friendly (under $200): Use what you have, add strategic new pieces, focus on one or two main areas
- Mid-range ($200-$500): Fresh garland, quality ornaments, statement pieces for multiple rooms
- Luxe (over $500): Premium velvet ribbons, designer ornaments, elaborate florals, the works
Time-wise, plan for 2-4 hours depending on how many spaces you’re decorating.
I usually tackle mine over a weekend—tree on Saturday, everything else on Sunday.
Your Essential Shopping List
Here’s what actually matters:
For the Tree:
- Base layer: matte red ornaments and shiny gold ball ornaments
- Statement pieces: oversized ornaments, decorative picks, unique shapes
- Red velvet ribbon (get the wired kind—trust me on this)
- Gold mesh or tulle for texture
- Tree topper (gold star or red velvet bow)
For Everywhere Else:
- Fresh or faux garland (your base for everything)
- Red and gold wreath for the front door
- Red velvet stockings with gold trim
- Gold candle holders and red pillar candles
- Gold chargers and serving pieces for your table
- Red poinsettias (faux ones last for years)
- Fairy lights everywhere—seriously, everywhere
Building Your Christmas Tree Like a Pro
The tree is your showstopper, so we’re doing this right.
Layer 1: The Foundation (The Secret Nobody Talks About)
Start by tucking smaller matte ornaments deep inside the branches near the trunk.
This creates depth and makes your tree look fuller and more expensive than it actually is.
Nobody sees these directly, but they catch light and create shadows that add dimension.
Use a mix of matte red and brushed gold in various sizes here.
Layer 2: The Middle Ground
Now add your medium-sized ornaments throughout the tree at varying depths.
Don’t just hang them on the tips of branches—push some further in, pull some forward.
This is where glittery golds, metallic finishes, and shinier reds come into play.
Distribute colors evenly by stepping back every few minutes to check for balance.
If you see a “bald spot” of one color, adjust.
Layer 3: Statement Pieces
These are your conversation starters—oversized ornaments, unique shapes, decorative picks with berries or pine cones.
Place these strategically where they’ll catch the eye.
I usually position my best pieces at eye level on the front-facing side of the tree.
The Ribbon Trick That Changes Everything
Here’s where most people go wrong with ribbon.
Don’t wrap it around the tree like a candy cane. Just don’t.
Instead, cut long pieces of wide velvet ribbon (4-6 inches wide works beautifully).
Tuck one end deep into the tree near the trunk, then let it cascade down and out, creating a waterfall effect.
The ribbon should look like it’s flowing naturally down the branches.
Use 5-7 pieces depending on your tree size, spacing them evenly around.
Between the velvet ribbons, tuck in some sheer gold mesh the same way for contrast and sparkle.
Top It Off
A glittering gold star is classic for good reason.
But a massive red velvet bow with long streamers? That’s a statement.
Pick whichever matches your style—both work beautifully.

Styling Your Mantel (Even If You’re Not a Florist)
I’m not going to lie—mantels intimidated me for years.
Then I learned the simple formula that works every single time.
The Base
Start with garland as your foundation. Fresh smells incredible but dries out. Quality faux lasts for years.
Drape it along the mantel, letting some pieces hang down naturally rather than keeping it perfectly even.
We’re going for elegant, not rigid.
Build Up in Triangles
Here’s the pro secret: arrange elements in triangle formations.
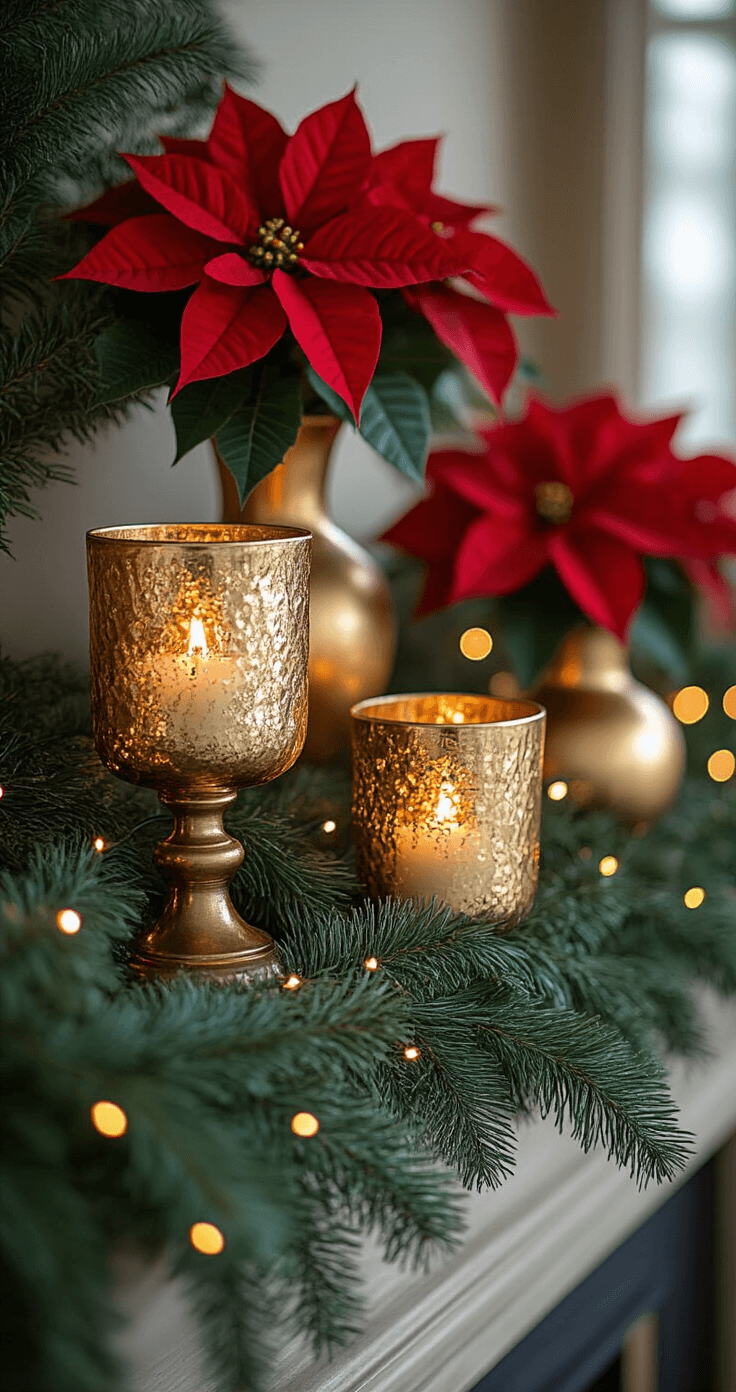
Place your tallest pieces (candlesticks, tall vases, decorative bottles) at varying heights.
Then fill in around them with medium elements (poinsettias, ornament clusters, small arrangements).
Finally, tuck in your smallest pieces (pine cones, berry picks, small ornaments) to fill gaps.
This triangular composition creates visual interest and looks intentional rather than cluttered.
What Actually Goes On
This post may contain affiliate links. Please see my disclosure policy for details.
This post may contain affiliate links. Please see my disclosure policy for details.


