A beautifully styled nail art studio featuring a marble manicure station with intricate Christmas tree nail designs, surrounded by emerald green, gold, and red nail polishes, ambient holiday decorations, and warm golden hour lighting.

Christmas Tree Nails: Your Ultimate Guide to Festive Nail Art

Christmas Tree Nails: Your Ultimate Guide to Festive Nail Art

Hey there, nail art lovers! Ready to transform your nails into a winter wonderland? Christmas tree nails are the hottest trend this holiday season, and I’m about to break down everything you need to know to rock this festive look.

A cozy nail art studio with exposed brick walls and large windows, bathed in golden hour sunlight. The pristine white manicure station features ergonomic chairs, organized nail tools, rows of green and metallic polishes, and a warm wood floor contrasting modern white and gold accents. The image captures the workstation with a shallow depth of field and soft bokeh in the background.

✨ Pro Tip: Create dimension by layering two green tones—apply a darker forest green as your base, then use a brighter emerald for the tree highlights using a thin striper brush for precise branch detailing.
🚫 Avoid This: Avoid skipping a quality base coat, as the rich green pigments in holiday polishes can stain natural nails yellow without proper protection.

I’ve found that the secret to professional-looking Christmas tree nails is actually in the negative space—leave tiny gaps between your tree silhouette and cuticle line for a cleaner, more editorial finish that photographs beautifully for holiday content.

Why Christmas Tree Nails Are Your New Holiday Must-Have

Let’s be real – holiday nail art can be intimidating. But Christmas tree nails? They’re surprisingly easy and totally adaptable for every skill level.

Design Options for Every Skill Level

Whether you’re a total nail newbie or a seasoned pro, there’s a Christmas tree nail design waiting for you:

  • Beginner Friendly: Nail stickers that make application a breeze
  • Intermediate: Freehand tree designs with simple techniques
  • Advanced: Intricate, textured tree landscapes that’ll make your friends go “Wow!”

A professional photography setup in an 8x8ft studio featuring a white backdrop, three-point lighting, and a macro lens capturing perfectly manicured nails with Christmas tree designs, complemented by festive props like pine branches and ornaments, shot from a 45-degree angle.

⚡ Pro Tip: Apply a thin layer of metallic gold polish to your dotting tool and gently press tiny dots onto the green tree base while still tacky—this creates dimensional ‘lights’ without freehand precision.
🚫 Avoid This: Avoid thick, goopy polish applications that extend past your nail edge; this causes bubbling and extends drying time significantly, ruining the crisp tree silhouette.

I’ve found that clients who struggle with steady hands achieve the cleanest trees by working in three distinct triangular sections rather than attempting one continuous stroke—patience here separates amateur from editorial-quality results.

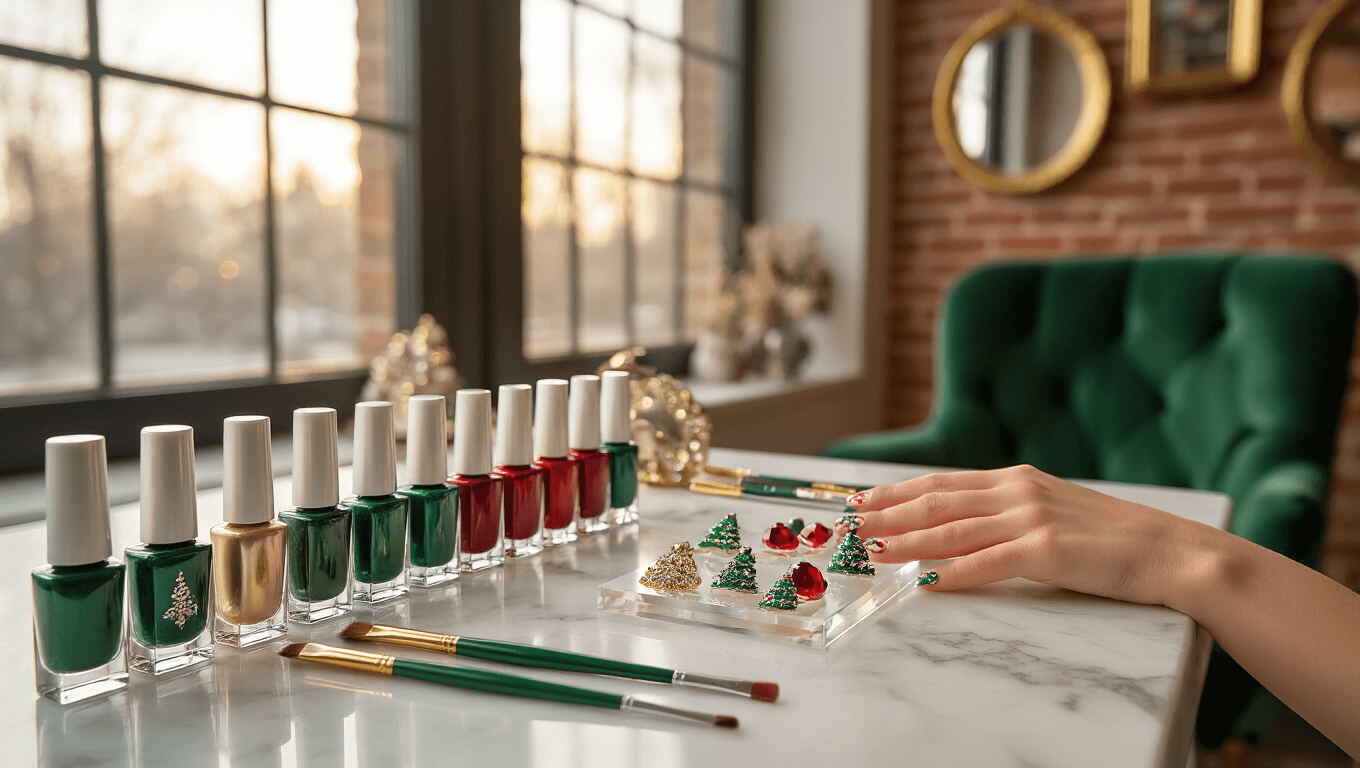
Essential Tools You’ll Need

Gear up with these must-have supplies:

A modern minimalist nail salon interior featuring open concept design with floor-to-ceiling windows and sheer curtains, multiple glass-topped manicure stations, wall-mounted storage of colorful nail polishes, and an accent wall with oversized nail art photography, all under a high-key lighting setup.

✨ Pro Tip: Layer three gradient greens from dark to light, using the detail brush to feather upward strokes that mimic pine needle texture rather than solid blocks of color.
⚠ Avoid This: Avoid thick, gloopy polish applications that create raised ridges; thin, buildable layers dry faster and prevent smudging your delicate tree silhouettes.

I’ve found that cooling your nails briefly between coats with a fan dramatically extends wear time on intricate holiday designs—heat is the enemy of longevity when you’re building dimensional nail art.

Step-by-Step Christmas Tree Nail Art Techniques

Freehand Method
  1. Start with a clean, base-coated nail
  2. Use a thin brush to create small triangles
  3. Add texture with zigzag lines
  4. Decorate with tiny “ornaments” using glitter or small gems
Sponge Technique
  • Grab a makeup sponge
  • Dab green polish through a tree-shaped stencil
  • Remove stencil for a textured tree effect

Intimate home nail studio in a spare room, featuring a custom white lacquer nail desk with LED lighting, acrylic storage for nail art supplies, and a plush emerald green chair, all illuminated by afternoon light through plantation shutters.

🔎 Pro Tip: For crisp freehand trees, steady your painting hand by resting your pinky finger on the table as an anchor point, and work in thin, semi-opaque layers rather than one thick coat that risks smudging.
⛔ Avoid This: Avoid using regular makeup sponges for the sponge technique as they absorb too much polish; instead, use a firm, non-porous silicone nail art sponge or specialized stamper for cleaner pigment transfer.

I’ve found that prepping nails with a ridge-filling base creates the smoothest canvas for intricate tree details, and a quick-dry top coat applied in two thin layers prevents dragging your delicate ornament work.

Pro Styling Tips

  • Mix metallic and matte finishes
  • Create accent nails with full tree designs
  • Add rhinestone “star” toppers
  • Experiment with color palettes beyond traditional green and red

Trending Christmas Tree Nail Styles

  • Minimalist Scandinavian trees
  • Glittery, chrome-effect trees
  • Abstract geometric tree shapes
  • Snowy white and blue color schemes

A well-designed nail photography station with a white marble table, overhead ring light, DSLR camera on a tripod, and a textured cool grey backdrop, featuring props like pine cones and vintage ornaments for artistic nail art presentations.

🔎 Pro Tip: Apply a sheer nude base first, then use the fine brush to paint asymmetrical tree silhouettes in matte sage green—keep negative space intentional for that Scandinavian editorial feel.
❌ Avoid This: Avoid overloading the nail with multiple glitter textures; choose one focal accent nail rather than competing finishes that muddy the minimalist concept.

I always tell clients that holiday nail art should feel like jewelry for your hands—this look photographs beautifully against winter knits and creates that subtle ‘I have my life together’ energy even when you don’t.

Maintenance and Longevity

Pro tip: Use gel polish or dip powder for designs that last through all your holiday parties!

Quick Troubleshooting

  • Shaky hands? Use nail tape as a guide
  • Mess up? Nail polish remover is your best friend
  • Want perfection? Try press-on nails with pre-designed trees

Luxury salon treatment room adorned with a crystal chandelier above a custom manicure table, featuring rich burgundy velvet drapes, gold-framed mirrors displaying vintage nail art, and accented by champagne metallic touches, all illuminated by warm, inviting lighting.

⚡ Pro Tip: Apply a thin layer of liquid latex or peel-off base around your nail bed before painting—this creates a barrier that catches any polish slips and peels away cleanly for crisp edges.
🛑 Avoid This: Avoid freehanding intricate tree details without a steady anchor point; rest your painting hand on a flat surface and brace your pinky finger against your opposite hand to minimize tremors.

I’ve found that warming your polish bottle in your hands for 30 seconds before application thins the formula slightly, giving you more control for those delicate tree branches without dragging or pooling.

Instagram-Worthy Hashtags

  • #ChristmasTreeNails
  • #HolidayNailArt
  • #FestiveNails
  • #NailArtInspo

Remember, nail art is all about having fun and expressing yourself. There are no strict rules – just creativity and holiday cheer!

Who’s ready to turn their nails into a festive masterpiece? Let’s get painting! 🎄💅

A spacious contemporary nail art classroom featuring industrial elements, including white-exposed ductwork and polished concrete floors. Multiple student stations equipped with task lighting surround an instructor's demonstration area with an overhead camera feeding into wall-mounted screens. Organized storage systems showcase a comprehensive collection of nail polishes and art tools, all under bright, even lighting.

🌟 Pro Tip: Apply a thin layer of metallic gold or silver polish to the edges of your tree design using a striping brush for instant dimension that catches light in every selfie.
⛔ Avoid This: Avoid skipping a quality base coat, as festive nail art requires multiple layers that can stain natural nails without proper protection.

I always tell clients that holiday nail art is the ultimate accessory—it completes your look when you’re holding a champagne flute or unwrapping gifts.

This post may contain affiliate links. Please see my disclosure policy for details.

Leave a Reply

Your email address will not be published. Required fields are marked *