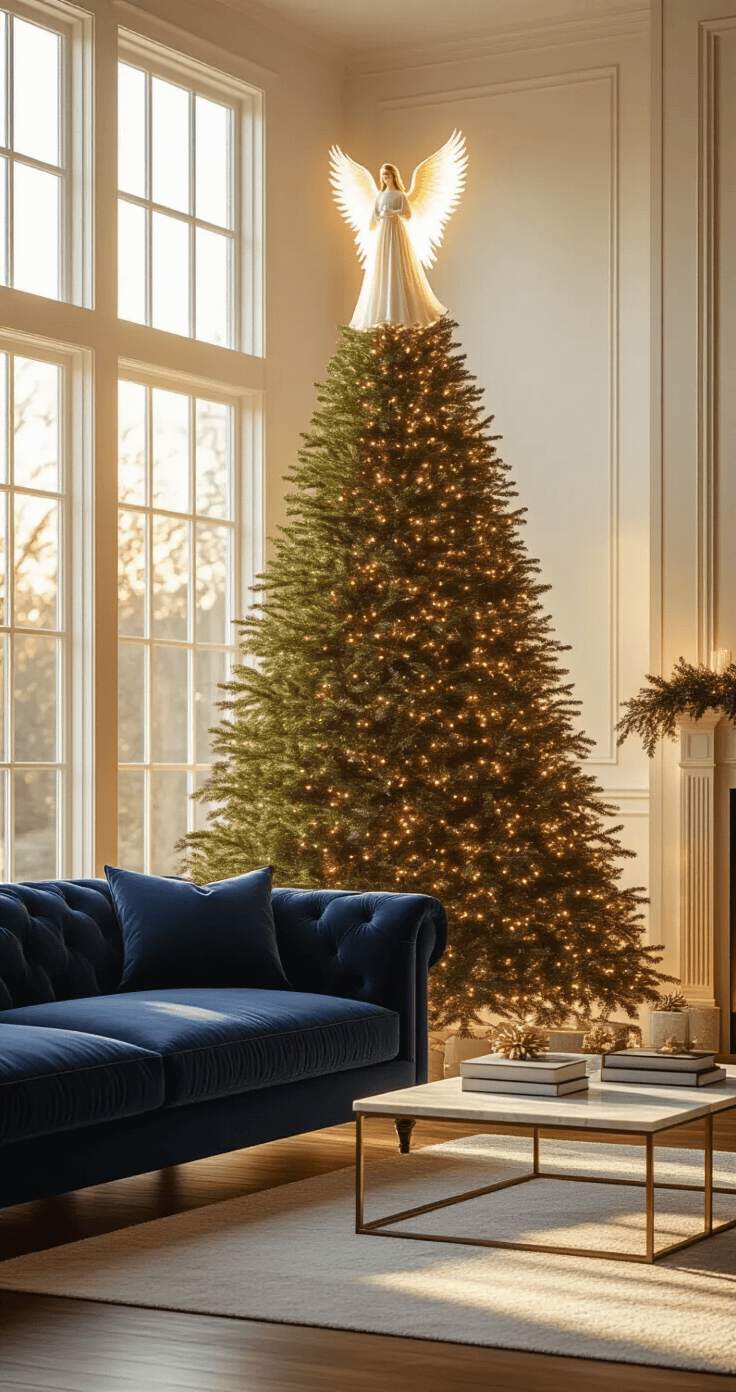
Why Your Tree Topper Matters More Than You Think
Contents
Let’s be real – the top of your Christmas tree is like the crown jewel of holiday decorating. It’s that final touch that transforms a basic tree into a magical holiday centerpiece. Whether you’re a DIY enthusiast or a total novice, I’ve got the ultimate guide to help you nail your tree topper game.
Topper Styles That Will Blow Your Mind
1. Classic Angel Toppers
These celestial beauties never go out of style. Pro tip: Look for pre-lit angel tree topper options that add instant sparkle to your tree.
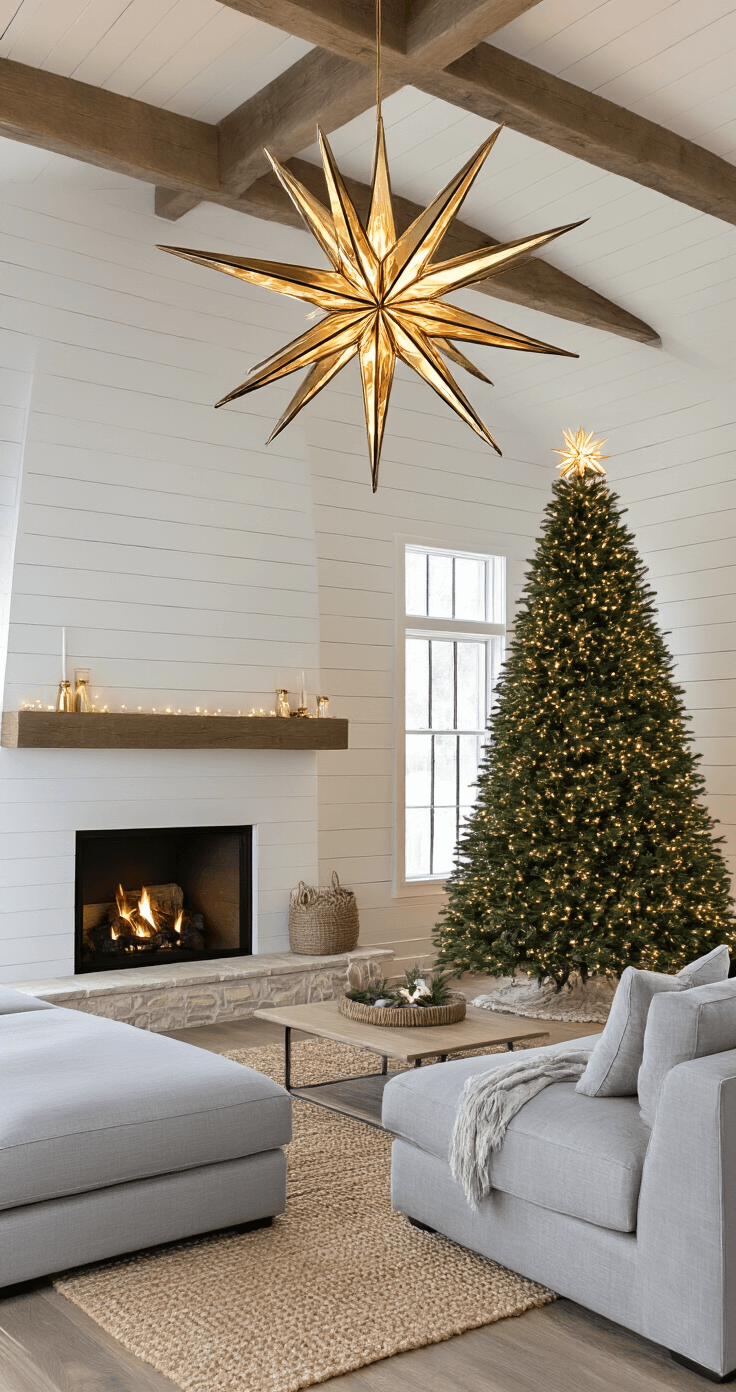
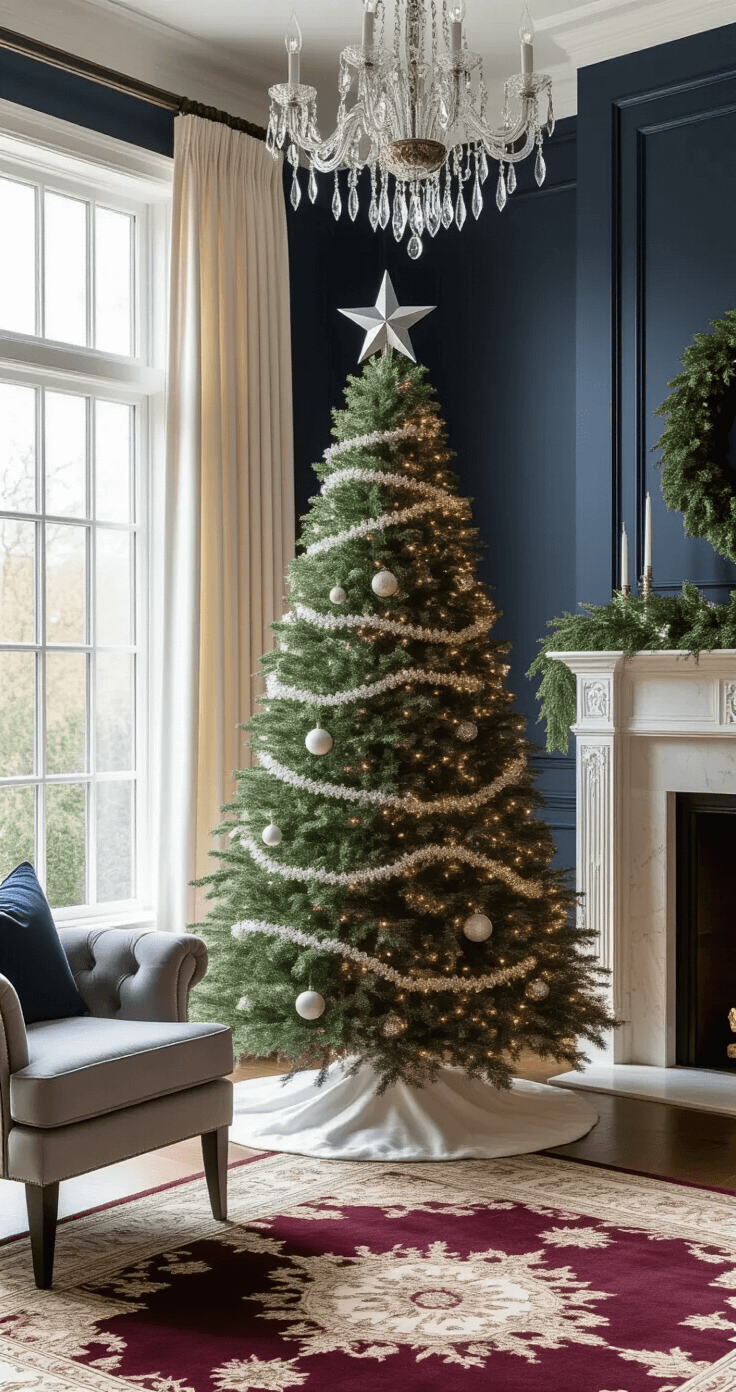
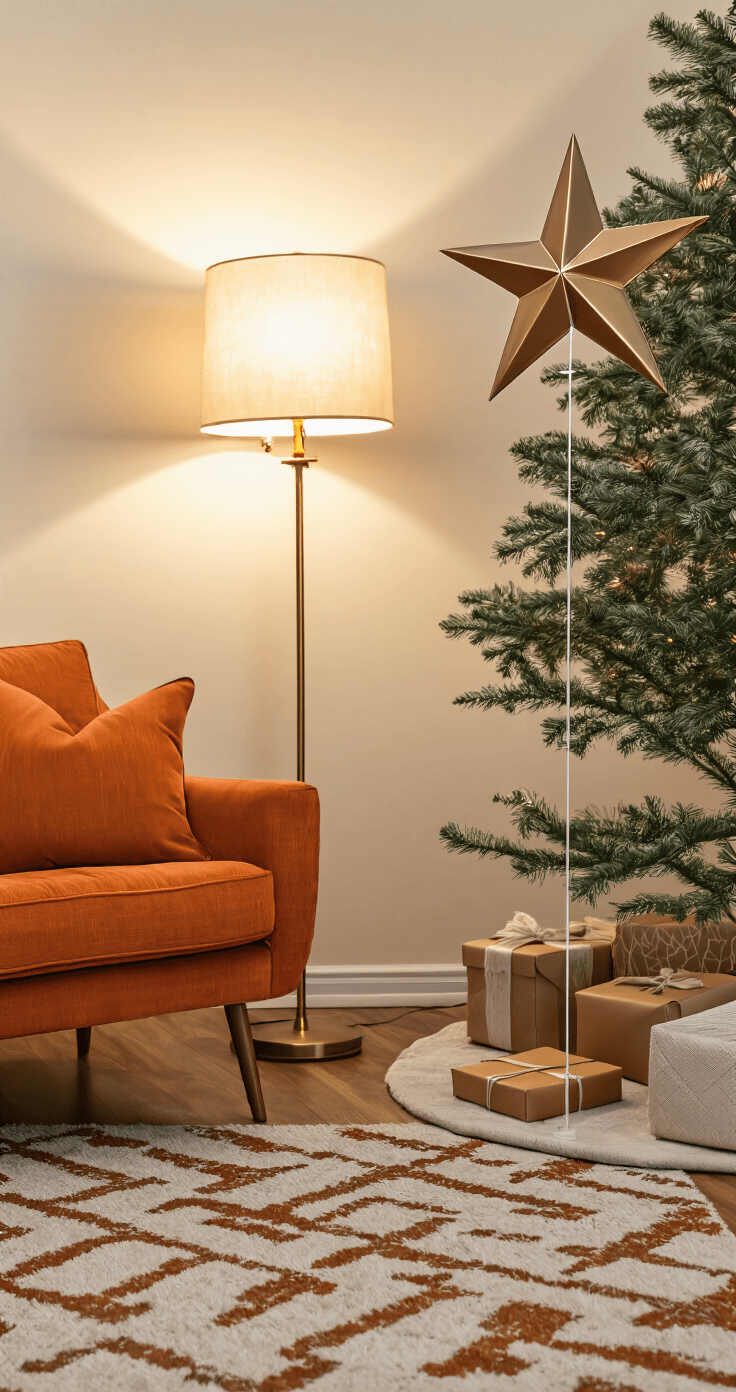
2. Star Power
Nothing says “holiday magic” like a stunning star. My favorite? Glittery metallic star toppers that catch the light and make your tree pop!
3. Budget-Friendly DIY Magic
Who says you need to spend a fortune? With just a few dollar store ornaments, you can create a showstopping topper that looks like a million bucks.
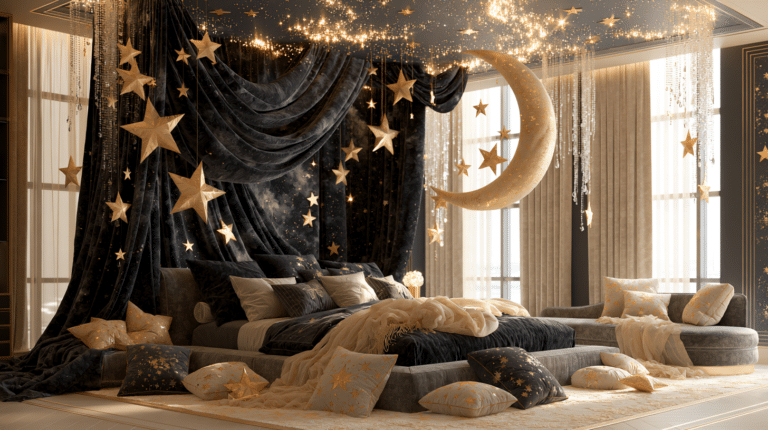
🏠 Steal This Look
- Paint Color: Sherwin-Williams Pure White SW 7005
- Furniture: slim-profile console table in warm walnut for displaying wrapped gifts beneath the tree
- Lighting: adjustable arc floor lamp with brass finish to uplight the tree and highlight the topper
- Materials: velvet ribbon garlands, mercury glass ornaments, and aged brass accents
I learned this the hard way after my oversized glass star sent my first artificial tree crashing into the fireplace—now I always anchor with floral wire.
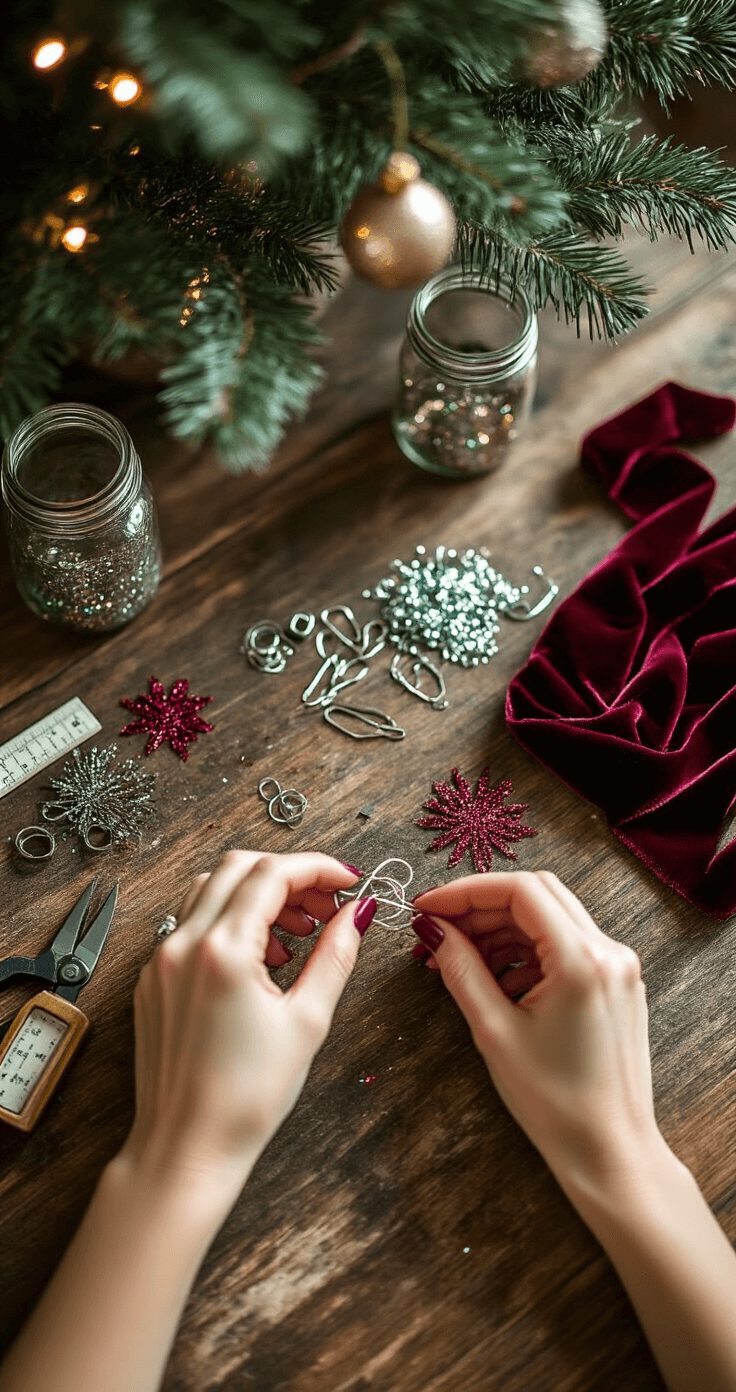
DIY Topper Tutorial: Prepare to Be Amazed
What You’ll Need:
- Zip ties
- Wire cutters
- Festive picks
- Glitter spray (optional)
- Ribbon
- Creativity (the most important ingredient!)
Step-by-Step Magic:
1. Foundation is Everything
Start with a sturdy base pick or ornament. Create depth by layering different textures and colors. Pro hack: Zip tie your elements together for maximum stability.
2. Create Dimension
Don’t just lay picks flat – weave them through branches. Mix metallic and matte finishes for visual interest. Play with height and positioning.
3. Hide the Evidence
Cover zip ties with ribbon or tinsel. Ensure no mechanical elements are visible.
💡 Steal This Look
- Paint Color: Benjamin Moore Chantilly Lace OC-65
- Furniture: craft room worktable with butcher block top and metal frame base
- Lighting: adjustable swing-arm LED task lamp with daylight temperature
- Materials: raw birch wood branches, galvanized wire, velvet ribbon, metallic mesh tubing
There’s something deeply satisfying about a handmade topper that store-bought versions can never replicate—it’s the one moment where your tree truly becomes yours.
👑 Get The Look
Pro Styling Secrets
Proportion is Key
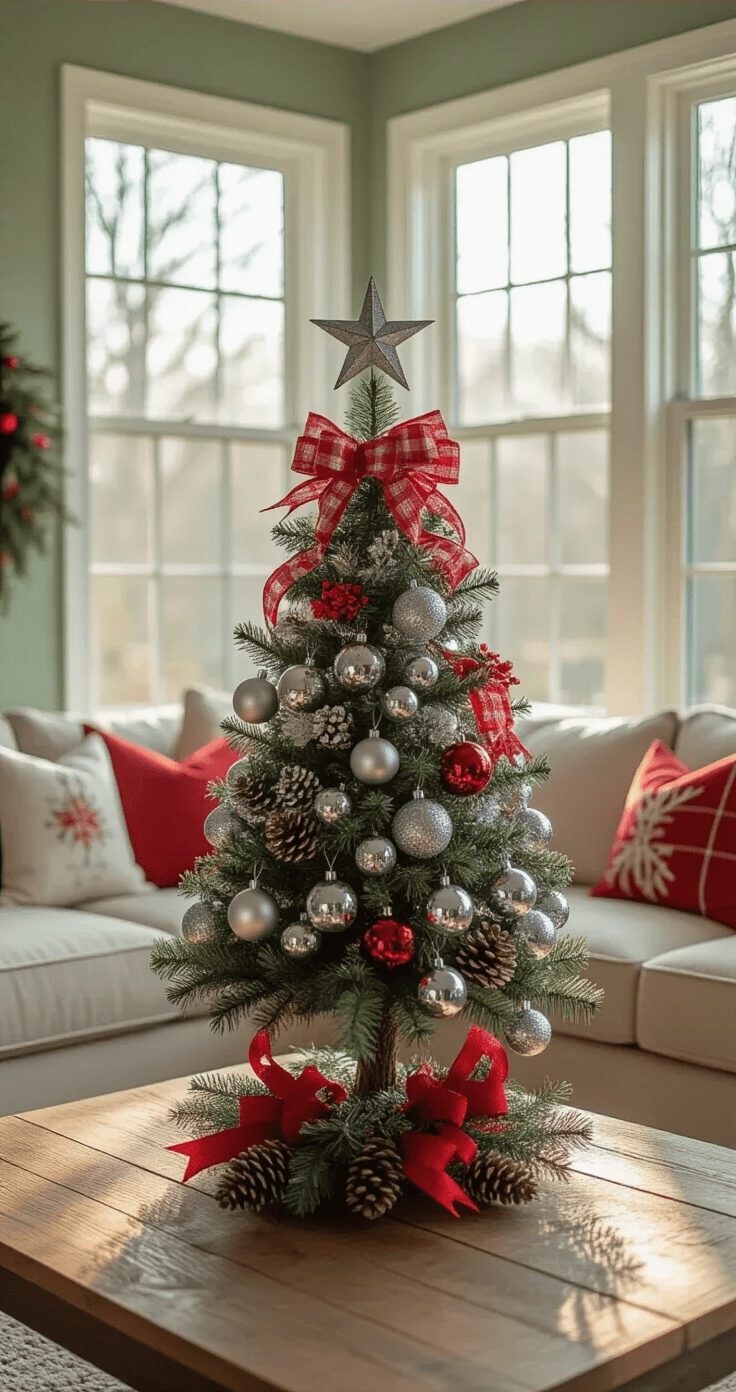
Small tree (4-6 feet): 8-12 inch topper. Larger trees (7-8 feet): 14-18 inch statement piece.
Stability Matters
Use clear fishing line to secure wobbly toppers. Gently shake the tree to test stability. Adjust until perfect!
Budget-Friendly Hacks
- Repurpose last year’s topper with new ribbon
- Mix store-bought elements with DIY touches
- Shop end-of-season sales for incredible deals
🎨 Steal This Look
- Paint Color: Farrow & Ball Pointing 2003
- Furniture: slipcovered linen sofa in natural ivory
- Lighting: antique brass picture light above mantel
- Materials: unbleached linen, aged brass, raw wood, hand-thrown ceramics
This is the room where you’ll linger with mulled wine long after the gifts are opened, so every detail should feel collected over time rather than purchased in a single afternoon.
Instagram-Worthy Styling Tips
Photograph from slightly below. Capture evening shots for maximum twinkle. Use natural light to highlight textures.
Sharing Your Masterpiece
Craft a caption that tells a story:
- “DIY Tree Topper That Cost Less Than $20!”
- “Turning Dollar Store Finds into Holiday Magic”
- “How I Created My Dream Christmas Tree Topper”
✎ Steal This Look
- Paint Color: Behr Polar Bear 75
- Furniture: low-profile velvet sofa in forest green, brass accent coffee table with marble top
- Lighting: Sputnik chandelier with dimmable candle-style bulbs, plus adjustable tripod floor lamp for fill lighting
- Materials: matte ceramic vases, hand-thrown pottery, chunky knit throws, aged brass picture frames, raw-edge wood mantel
This is the room where you’ll spend hours perfecting that one shot, so make the space itself worth photographing even when the tree comes down.
Final Thoughts
Your tree topper is more than just a decoration – it’s a statement. It’s your chance to showcase your creativity, style, and holiday spirit. Whether you go traditional or totally wild, make it uniquely YOU.
Remember: There are no rules in holiday decorating – only opportunities for magic!
Pro Tip: Take photos of your creation and tag me! I’m always looking for holiday inspiration.
Happy decorating, friends! 🎄✨
🏠 Steal This Look
- Paint Color: use Valspar brand. Match the ACTUAL wall color in the image. Format: Valspar ColorName CODE
- Furniture: specific furniture for this room
- Lighting: specific lighting fixture
- Materials: key textures and materials
After fifteen years of decorating professionally, I’ve learned that the most memorable trees always feature a topper with a story—whether it’s a hand-me-down angel from grandma or a quirky vintage find from a flea market adventure.
This post may contain affiliate links. Please see my disclosure policy for details.