What You’re Actually Creating Here
Contents
The Real Talk on Time and Money
Look, I’m not going to lie to you. A proper Easter setup takes 2-4 hours if you’re doing it right. That includes unboxing everything, arranging, rearranging when you realize the bunny looks weird there, and stepping back seventeen times to “check the vibe.”
Budget-wise, you’re looking at $15-$150+ depending on your approach. I’ve created stunning displays with nothing but Dollar Tree finds and a glue gun, and I’ve also splurged on statement pieces from Hobby Lobby that I’ll treasure for years.
Both approaches work. It just depends on your storage space and how much you actually enjoy crafting.
The Style You’re Going For
Most Easter decor falls into one of these camps:
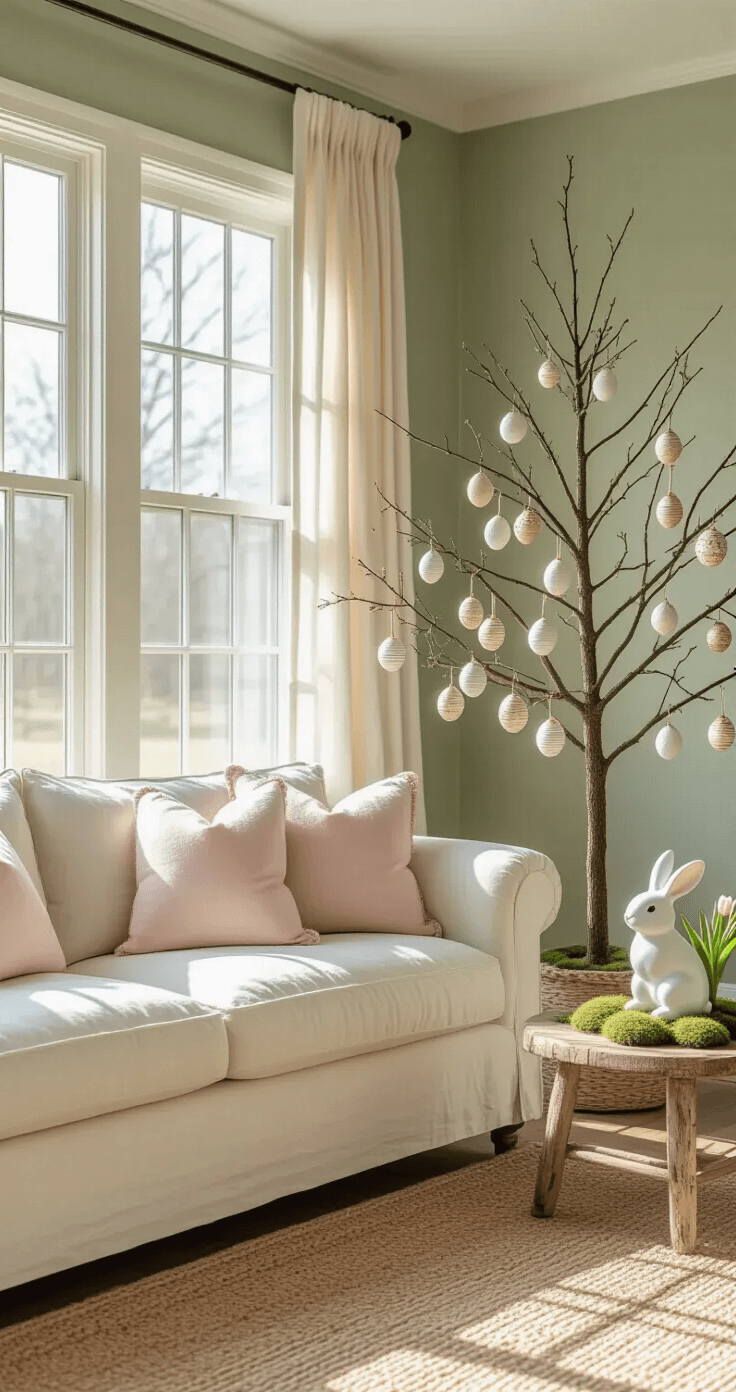
- Spring Farmhouse (think white wood, greenery, and natural textures)
- Whimsical Easter (pastel everything, bunnies with personality, playful accents)
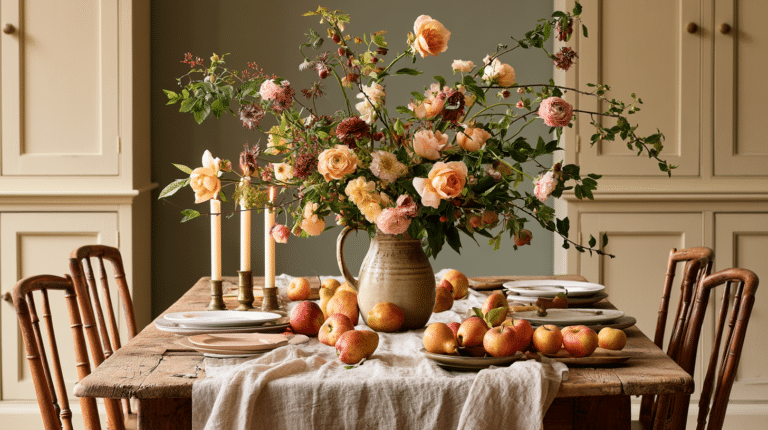
- French Cottage (soft florals, muted colors, elegant simplicity)
- Boho Chic (macramé, natural materials, earthy pastels)
I usually land somewhere between Spring Farmhouse and Whimsical because I want it pretty but also fun. My kids need to know we’re celebrating something here, not just rearranging furniture.
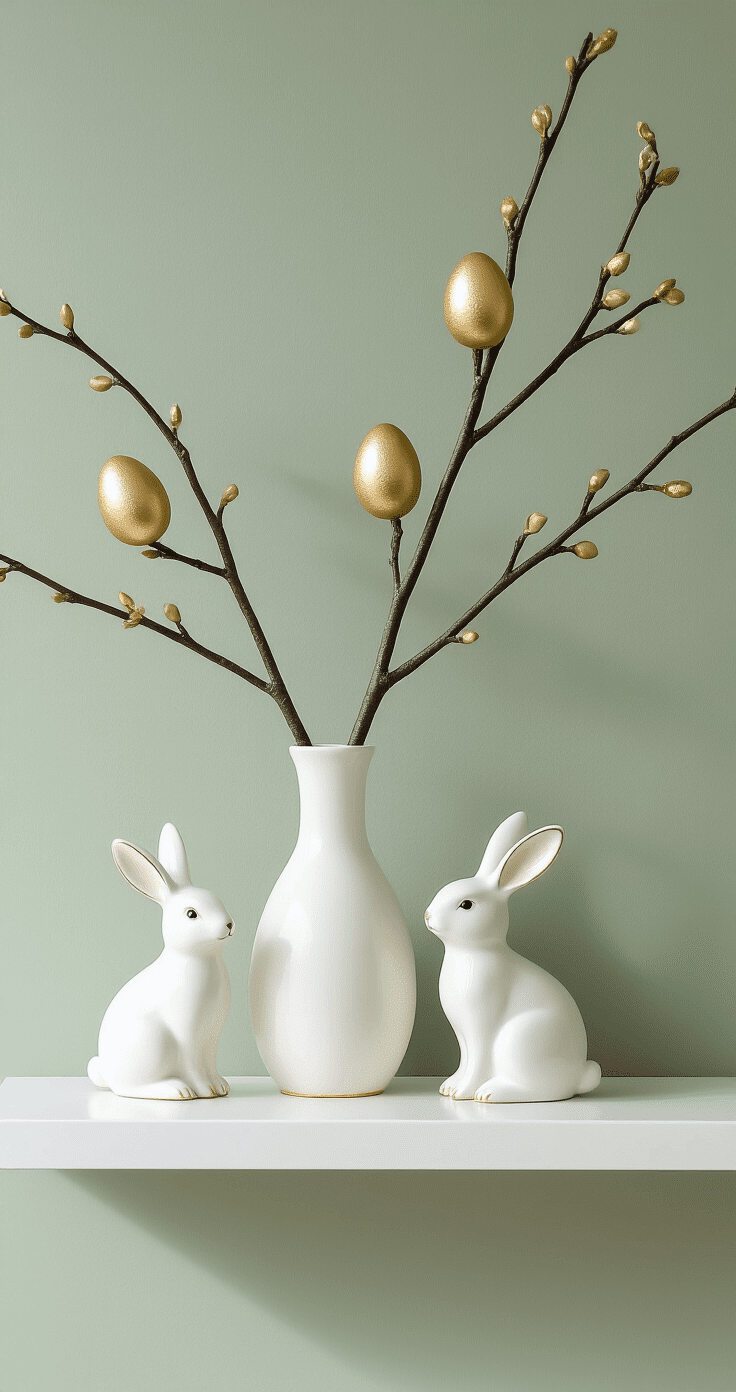
The color palette that works every single time? Soft pastels anchored by deep greens and warm neutrals, with strategic pops of metallic gold or silver. This combination reads “Easter” without screaming “kindergarten classroom.”
🏠 Steal This Look
- Paint Color: Sherwin-Williams Alabaster SW 7008
- Furniture: distressed white console table or open shelving unit for layered display
- Lighting: vintage-inspired brass table lamp with linen drum shade
- Materials: reclaimed wood, galvanized metal, burlap ribbon, faux boxwood, ceramic eggs, mercury glass
I’ve learned that the Easter displays I love most are the ones that feel collected over time, not purchased in one frantic trip—give yourself permission to build slowly and swap pieces as your style evolves.
What You Actually Need (And What’s Just Marketing)
The Non-Negotiables
Let me save you some money right now. You don’t need fifty different Easter items. You need three hero pieces that do the heavy lifting, then smaller accents to fill in.
Hero Piece #1: Your Focal Point
This is your showstopper. Mine is usually an Easter tree—just branches in a vase decorated with honeycomb paper eggs or painted ornaments.
If trees aren’t your thing, go with a statement Easter wreath for your front door. I made one last year with a grapevine base, white flowers, greenery, and one gorgeous ceramic bunny tucked in the corner. Took thirty minutes and cost $18 at Dollar Tree.
Hero Piece #2: Your Table Situation
If you’re hosting Easter brunch (or just want to pretend you’re the kind of person who hosts Easter brunch), your table centerpiece matters.
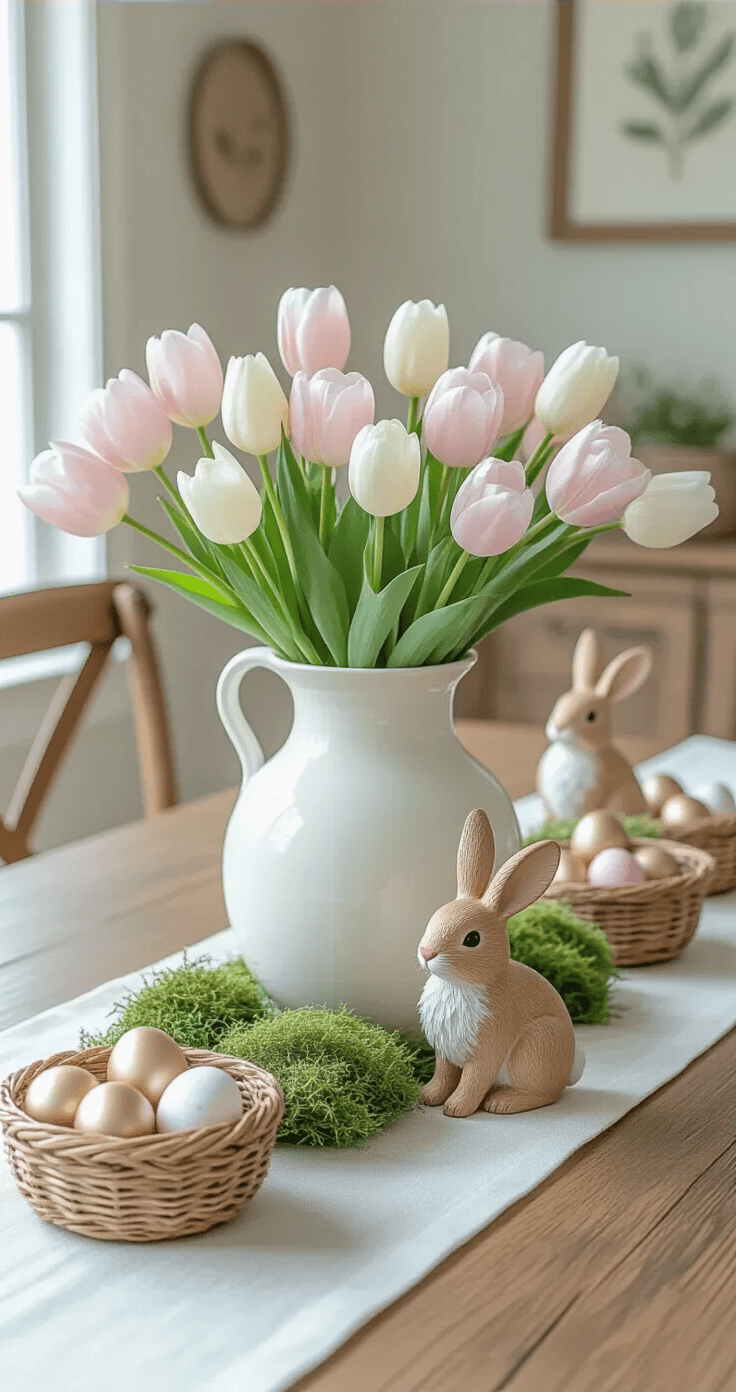
Here’s my foolproof formula:
- One large floral arrangement in the center (faux or real tulips work beautifully)
- Scattered decorative eggs in nests or small bowls
- Greenery tucked into gaps (Spanish moss is your best friend here)
- Bunny figurines on either end for balance
The whole thing takes up maybe a third of your table length. Don’t cover the entire surface—people need somewhere to put their plates.

Hero Piece #3: Your Bunny Statement
Every Easter display needs at least one really good bunny. Not the sad plastic ones that look like they’ve seen things. I’m talking about the ceramic or wooden bunnies with actual personality.
Position this bunny where guests will see it first—entryway table, mantel, or bookshelf. Everything else becomes supporting cast.
The Supporting Players
Once your heroes are in place, these items fill out the look without overwhelming:
- Garlands (carrot designs or egg banners add movement)
- Small floral picks (stick these everywhere—baskets, wreaths, between books)
- Decorative baskets (fill with faux grass and eggs)
- Candles in spring scents (nothing says Easter like the smell of… well, anything floral)
What You Can Skip
Unless you’re hosting a Pinterest-worthy brunch, you don’t need:
- Individual place card holders shaped like bunnies
- Egg-shaped everything (one egg category is enough)
- Matching sets of fourteen items (mix and match always looks better)
- Anything that requires a ladder to hang
🖼 Steal This Look
- Paint Color: Benjamin Moore Simply White OC-117
- Furniture: farmhouse-style extendable dining table in natural oak with turned legs
- Lighting: linear brass chandelier with linen drum shades
- Materials: raw grapevine, honeycomb paper, unglazed ceramic, fresh greenery, bleached linen
I’ve learned the hard way that the Easter decorations I actually unpack year after year are the ones that feel like spring itself—textured, imperfect, and alive—rather than the plastic bunnies that seemed cute in the store.
Setting This Whole Thing Up Without Losing Your Mind
First: Clear the Decks
I learned this the hard way. You cannot properly decorate around your existing clutter.
Take everything off your mantel, dining table, or wherever you’re decorating. Dust it (I know, I know, but do it anyway). Start with a blank canvas.
Second: Biggest Pieces First
This is where people mess up. They start adding little eggs and bunnies before placing the main attraction, then realize there’s no room for the centerpiece they actually love.
Place your Easter tree, wreath, or main arrangement first. Everything else works around this anchor.
Third: Build in Layers
Think of decorating like getting dressed. You don’t put on jewelry before your shirt.
Layer 1: Large pieces (trees, wreaths, big baskets)
Layer 2: Medium accents (floral arrangements, bunny figurines)
Layer 3: Small details (scattered eggs, greenery, ribbon)
Work from back to front if you’re styling a shelf or mantel. Taller items in back, shorter in front, with intentional gaps for visual breathing room.

🖼 Steal This Look
- Paint Color: use Farrow & Ball brand. Match the ACTUAL wall color in the image. Format: Farrow & Ball ColorName CODE
- Furniture: specific furniture for this room
- Lighting: specific lighting fixture
- Materials: key textures and materials
I used to dump everything out and panic-decorate, but this layered approach finally let me actually enjoy the process instead of fighting my own mess.
Book Your Stay
This post may contain affiliate links. Please see my disclosure policy for details.