Classic Red and Green Christmas Tree Decor: Your Ultimate Styling Guide
Contents
- Classic Red and Green Christmas Tree Decor: Your Ultimate Styling Guide
- Why Red and Green? The Magic of Traditional Christmas Styling
- Essential Supplies You’ll Need
- Pro Styling Secrets
- Budget-Friendly Tips
- Common Mistakes to Avoid
- Styling Timeline
- Your Step-by-Step Decoration Process
- Creative Variations
- Final Pro Tips
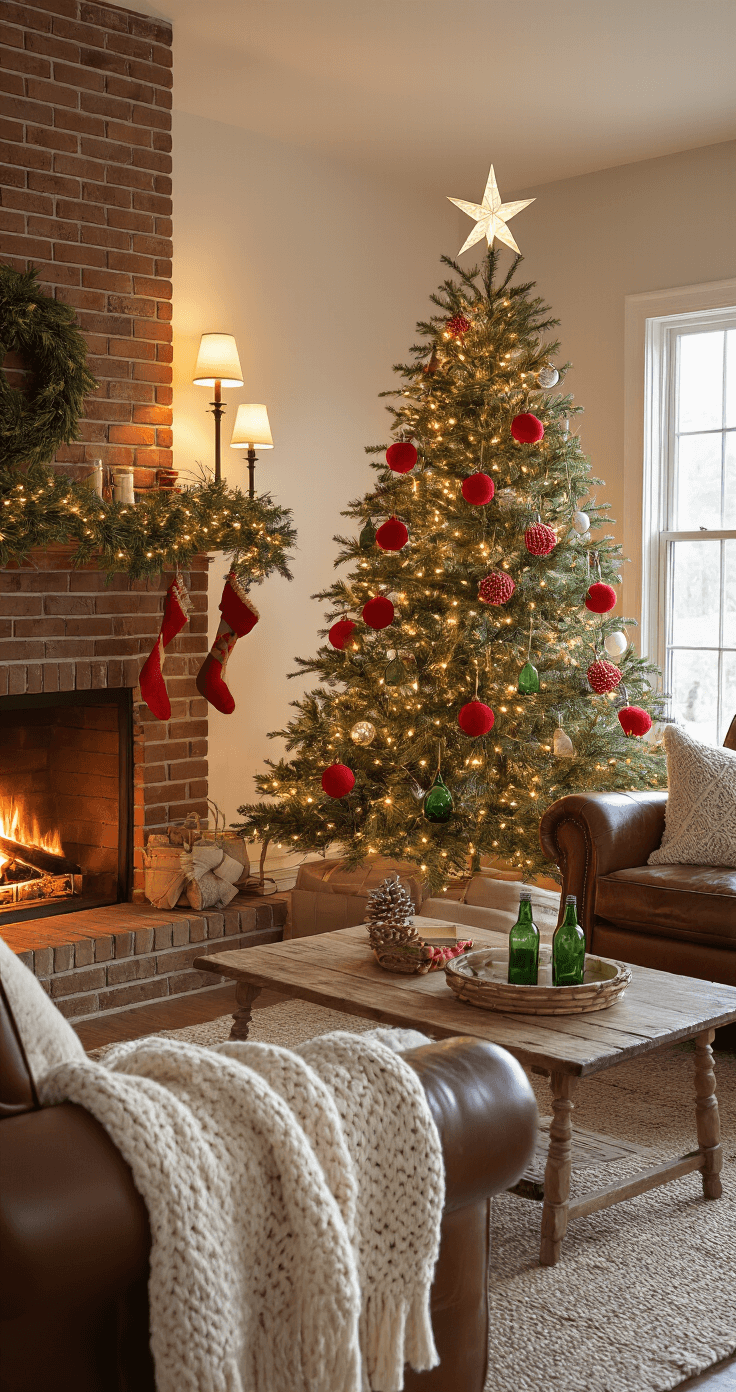
Christmas is coming, and nothing screams festive cheer like a beautifully decorated red and green Christmas tree!
🖼 Steal This Look
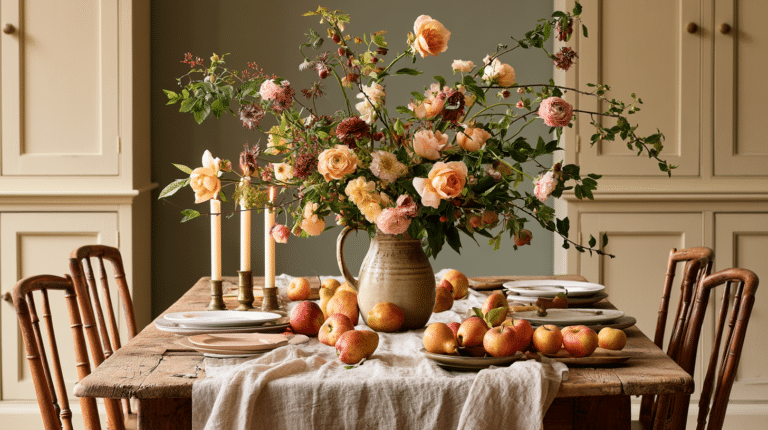
- Paint Color: Sherwin-Williams Snowbound SW 7004
- Furniture: traditional camelback sofa in deep burgundy velvet with nailhead trim, paired with a distressed cream-colored farmhouse coffee table
- Lighting: antiqued brass chandelier with candle-style bulbs and crystal accents
- Materials: plaid wool throws, burlap tree skirt, mercury glass ornaments, fresh pine garlands, and distressed wood accents
There’s something deeply comforting about this palette—it connects us to generations of holiday memories, and walking into a room with a classic red and green tree instantly feels like coming home.
Why Red and Green? The Magic of Traditional Christmas Styling
Let’s be real – red and green aren’t just colors. They’re a holiday emotion.
Quick Highlights:
- Instantly creates nostalgic Christmas vibes
- Works in ANY home style
- Budget-friendly to luxury options
- Super easy to execute
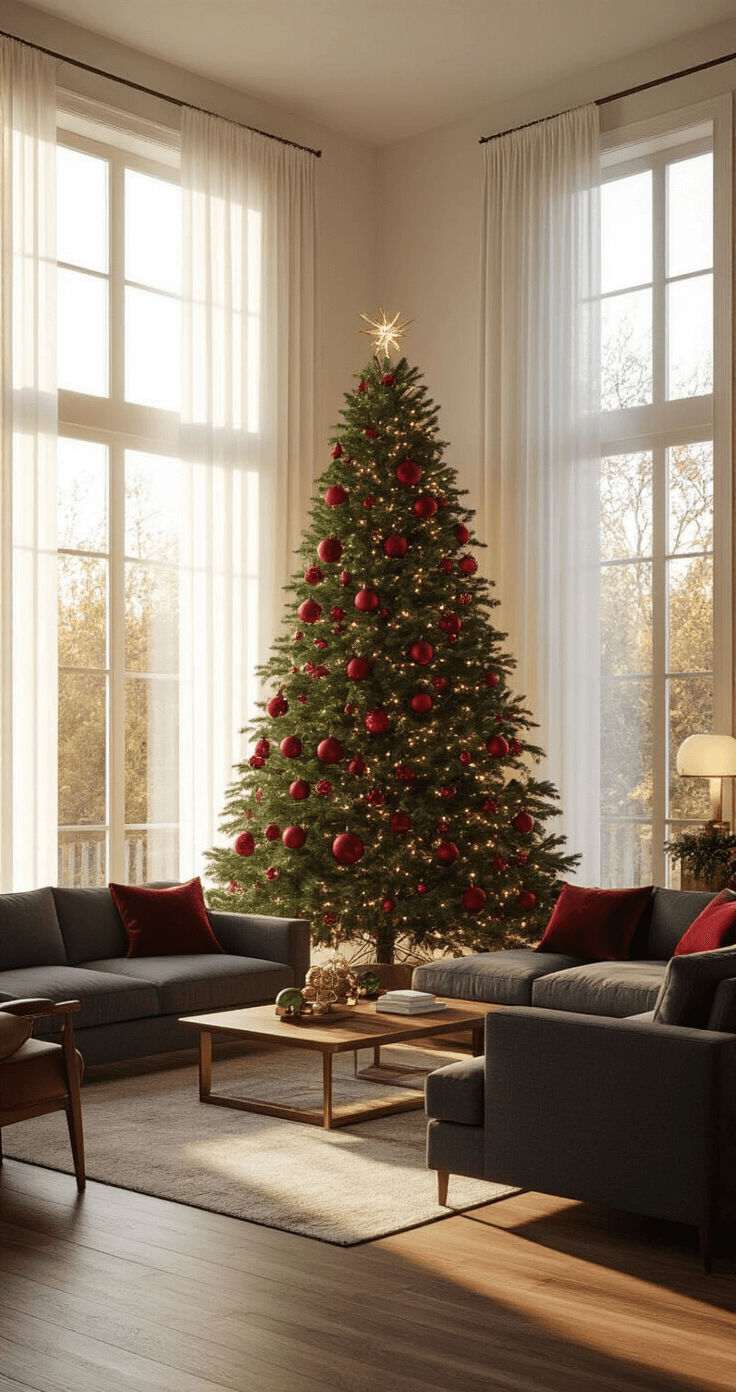
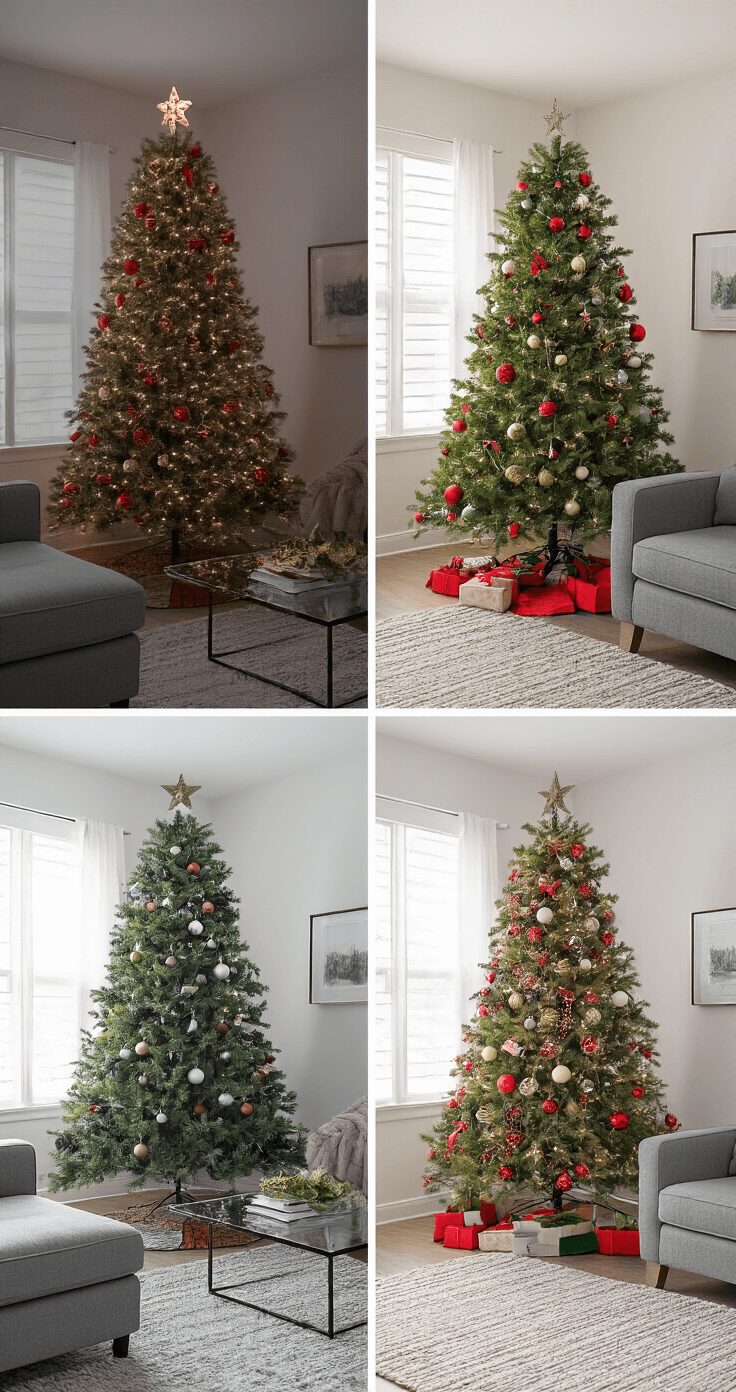
💡 Steal This Look
- Paint Color: Benjamin Moore Simply White OC-117
- Furniture: classic rolled-arm sofa in deep forest green velvet
- Lighting: antiqued brass candlestick table lamps with cream linen shades
- Materials: plaid wool throws, mercury glass ornaments, fresh cedar garlands, aged wood accents
There’s something deeply comforting about walking into a room that feels like the Christmases you remember as a child—this palette taps straight into that collective memory.
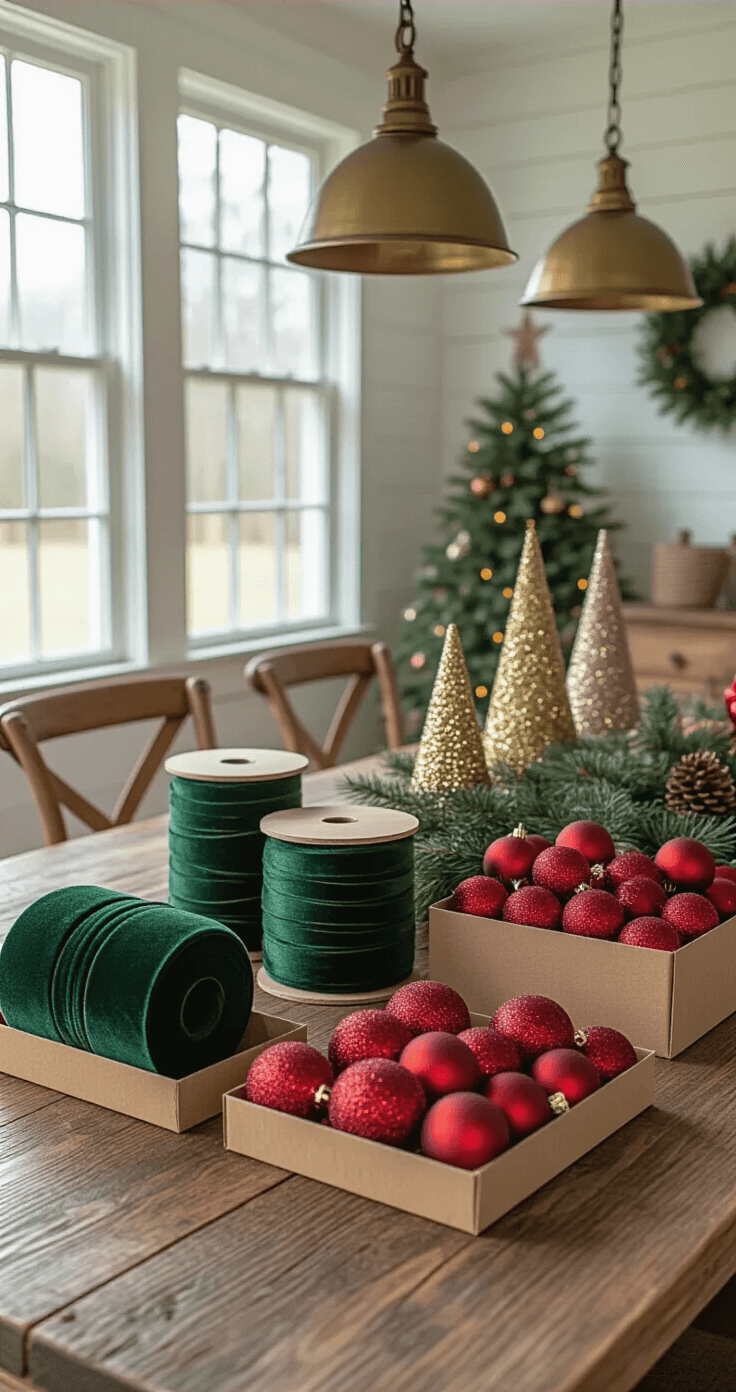
Essential Supplies You’ll Need
Must-have items for your perfect tree:

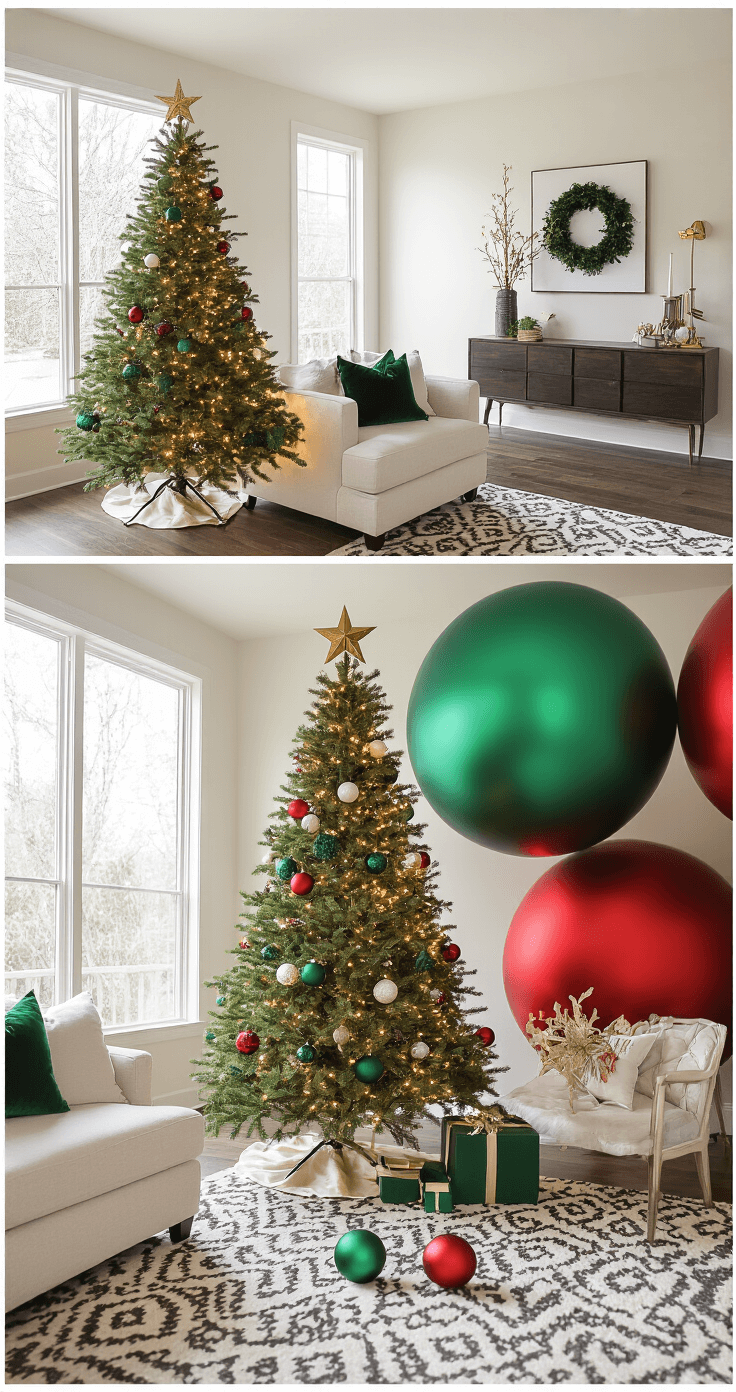
💡 Steal This Look
- Paint Color: Farrow & Ball Green Smoke 47
- Furniture: vintage-inspired velvet storage ottoman in deep forest green to hide gift wrap and seasonal supplies
- Lighting: adjustable brass pharmacy floor lamp with warm 2700K bulb for evening tree illumination
- Materials: matte velvet ribbon, mercury glass, aged brass, raw linen tree skirt, hand-blown glass with intentional bubbles
There’s something deeply satisfying about unboxing the same velvet ribbon year after year—it becomes part of your family’s ritual, the slight creases holding memories of Christmases past.
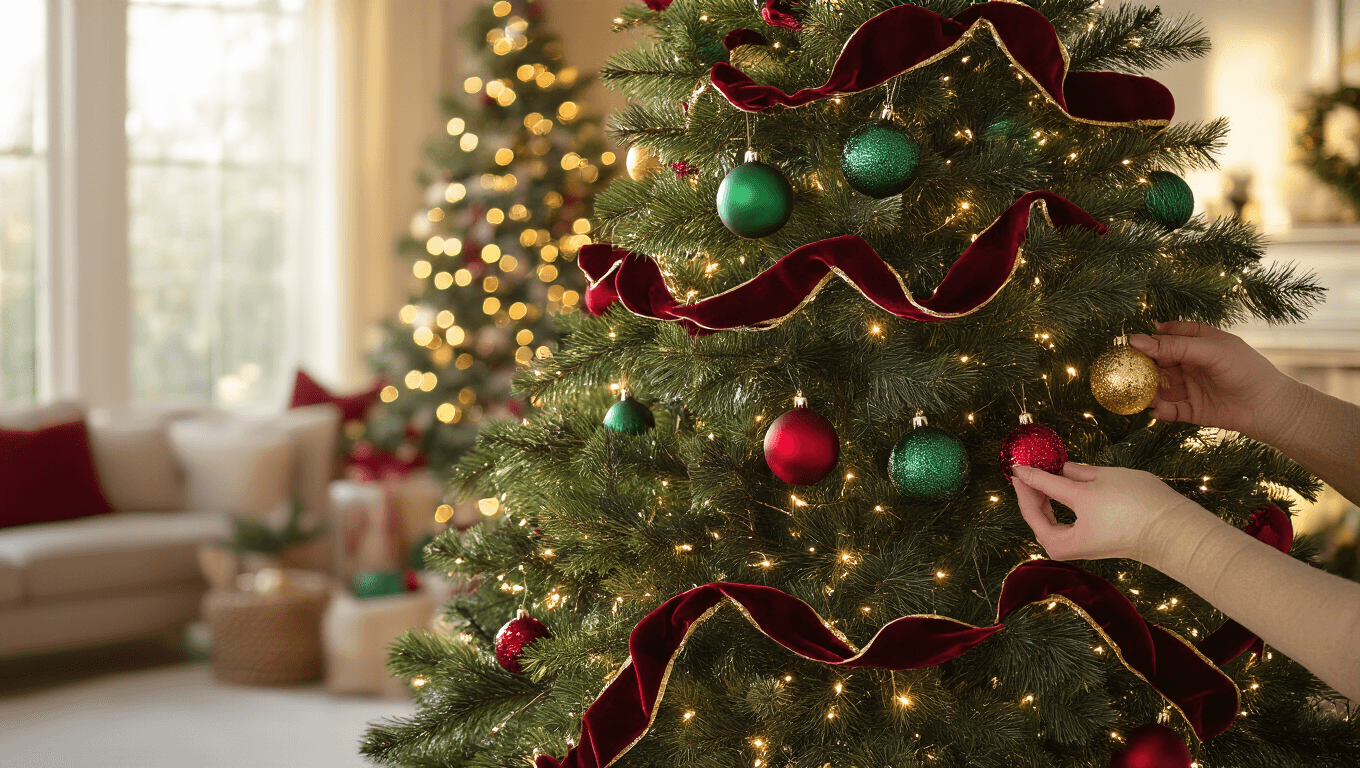
Pro Styling Secrets
Color Placement Magic
- Cluster colors strategically
- Balance red and green evenly
- Use gold or ivory as neutral accent
Texture is Everything
Mix these textures for visual depth:
- Matte ornaments
- Glossy baubles
- Glittered accents
- Velvet ribbons
🏠 Steal This Look
- Paint Color: use Behr brand. Match the ACTUAL wall color in the image. Format: Behr Swiss Coffee 12
- Furniture: tufted velvet settee in deep emerald
- Lighting: antiqued brass adjustable picture light
- Materials: mercury glass, raw silk ribbon, aged brass, hand-blown glass, Belgian linen
This is where your tree transforms from decorated to designed—I’ve watched clients hold their breath when they finally see how intentional color distribution changes the entire room’s energy.
✅ Get The Look
Budget-Friendly Tips
Money-Saving Hacks:
- Reuse core ornaments yearly
- Shop post-holiday sales
- DIY some decorations
- Focus on statement ribbons
🖼 Steal This Look
- Paint Color: use Valspar brand. Match the ACTUAL wall color in the image. Format: Valspar ColorName CODE
- Furniture: specific furniture for this room
- Lighting: specific lighting fixture
- Materials: key textures and materials
This approach lets you build a collected-over-time tree that feels personal without the pressure of a single expensive shopping trip.
Common Mistakes to Avoid
❌ Don’t:
- Overcrowd your tree
- Ignore color balance
- Use only one texture
- Forget lighting
✅ Do:
- Step back and assess
- Layer thoughtfully
- Create visual “movement”
- Use natural light when photographing
🖼 Steal This Look
- Paint Color: PPG Swiss Coffee PPG14-12
- Furniture: slipcovered linen sofa in natural oatmeal, reclaimed wood coffee table with visible grain
- Lighting: oversized linen drum pendant with brass chain
- Materials: raw Belgian linen, aged brass, unlacquered copper, hand-thrown ceramic, live-edge wood
This is the room where you’ll actually live with your tree for weeks, not just photograph it—so every layer needs to earn its place in the quiet moments when the lights are off and you’re just curled up nearby.
Styling Timeline
1-3 Hours Total
- 30 mins: Tree setup
- 45 mins: Light installation
- 45 mins: Decoration
Your Step-by-Step Decoration Process
- Fluff tree branches
- Install lights
- Add ribbon framework
- Hang large ornaments
- Fill gaps with smaller decor
- Add final touches
✎ Steal This Look
- Paint Color: Clare Paint Whipped CODE
- Furniture: slipcovered linen sofa in natural ivory, reclaimed wood coffee table with visible grain knots, vintage spindle-back accent chair
- Lighting: oversized brass pharmacy floor lamp with adjustable arm
- Materials: raw Belgian linen, aged brass, unlacquered copper, hand-thrown ceramic, velvet ribbon in deep crimson and forest green
There’s something meditative about this process—each step builds anticipation, and by the time you’re hunting for those final filler ornaments, the room has already started to feel like the holidays have arrived.
🎁 Get The Look
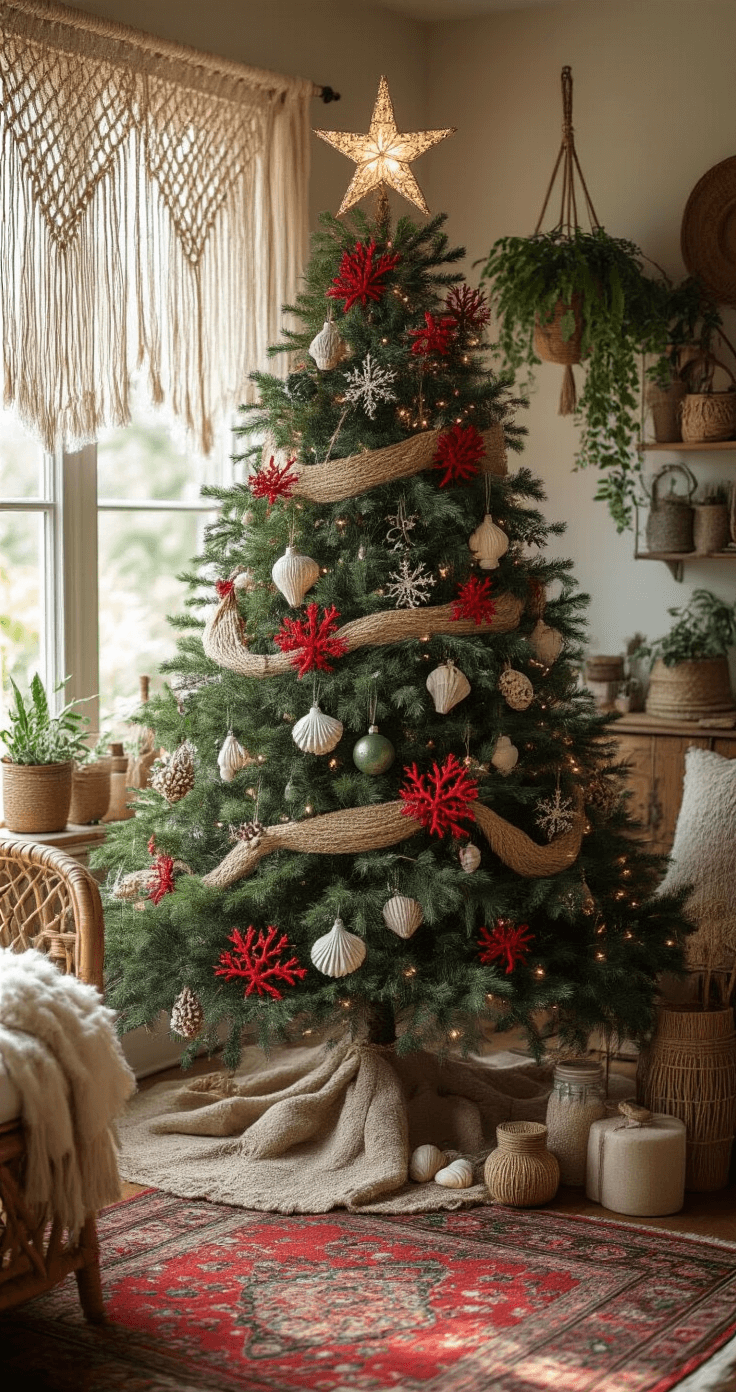
Creative Variations
Want to mix it up? Try:
- Boho-inspired textures
- Coastal shell accents
- Jewel tone upgrades
- Farmhouse elements
Final Pro Tips
- Take photos in natural light
- Share on social media
- Have fun with the process!
Pro Photographer Trick: Shoot from multiple angles to capture tree’s full magic.
Keywords for Inspiration
#ChristmasDecor #HomeStyle #FestiveTree #DIYDecoration
Remember: Your tree tells a story. Make it yours!
This post may contain affiliate links. Please see my disclosure policy for details.